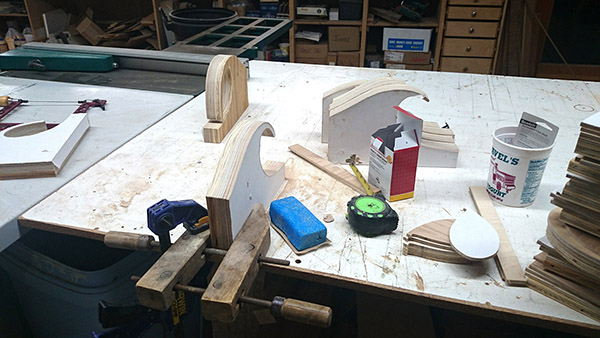
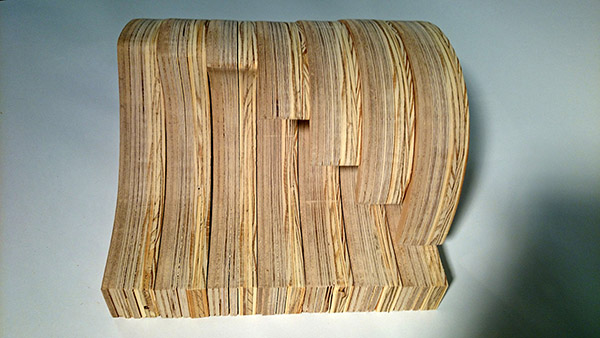
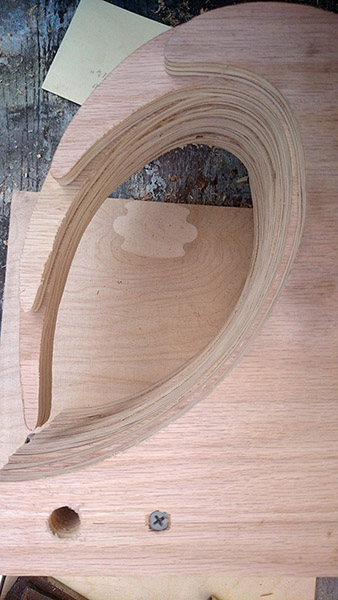
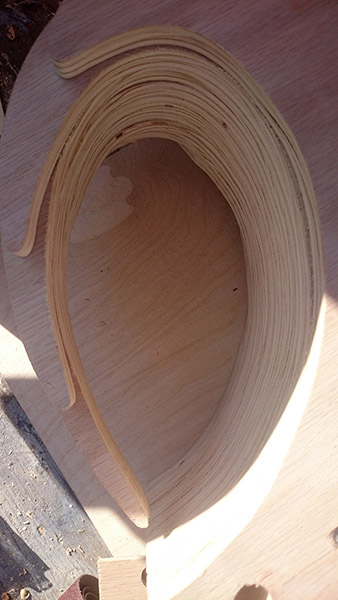
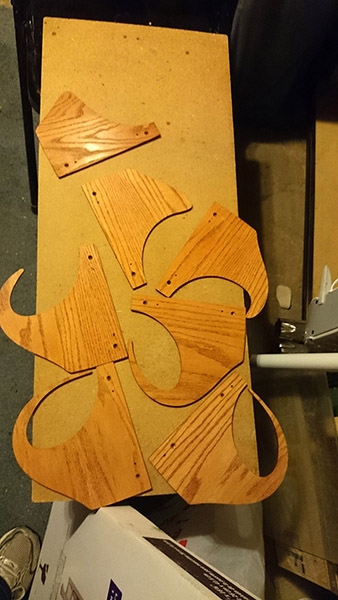
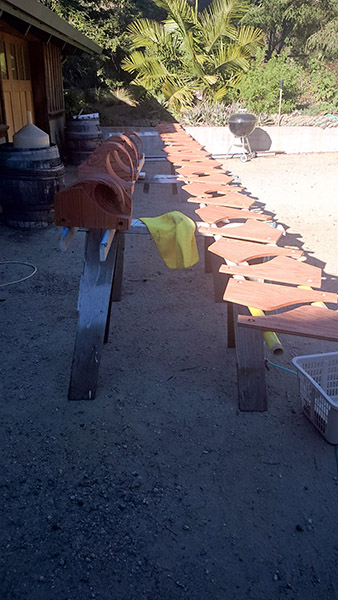
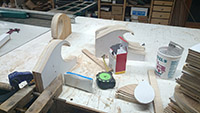
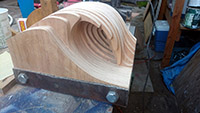
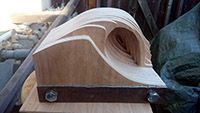
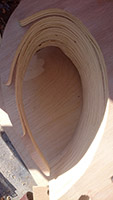
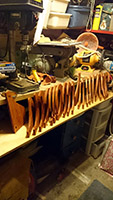
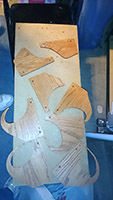
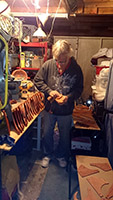
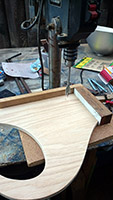
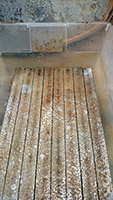
I didn't take any photos of cutting out the ribs on the band saw, but this is just after I had done so. All of the similar ribs were screwed together and cut at the same time to a paper template that I used a glue stick to attach to the wood. |
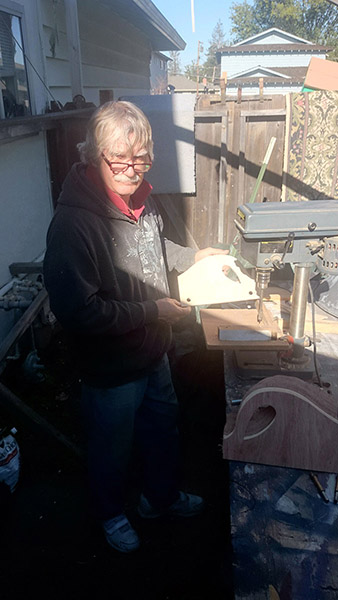
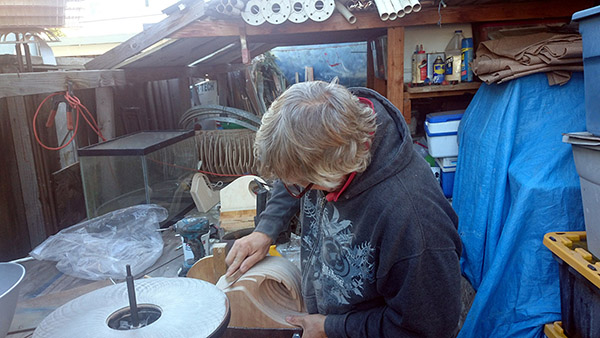
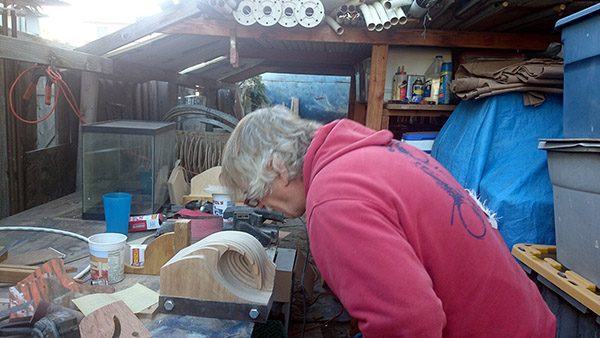
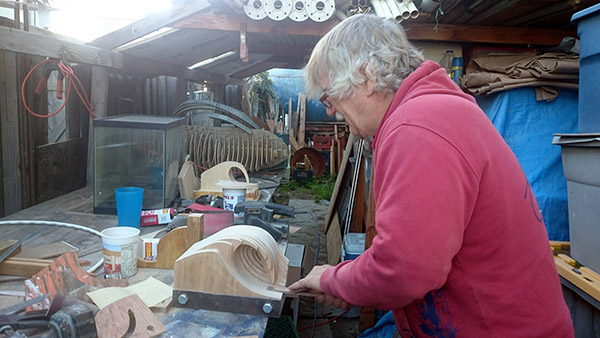
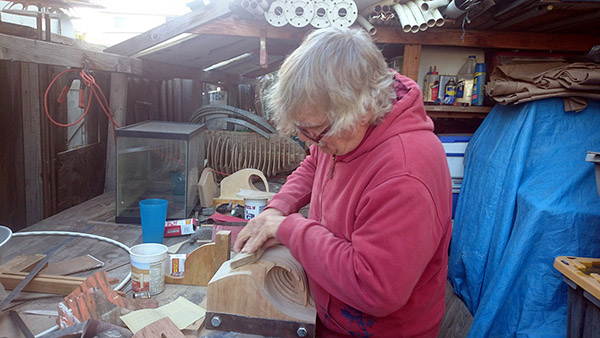
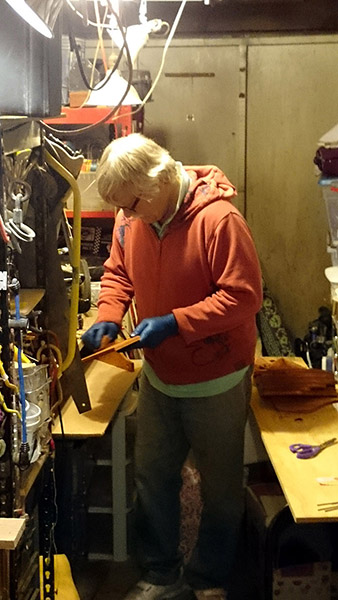
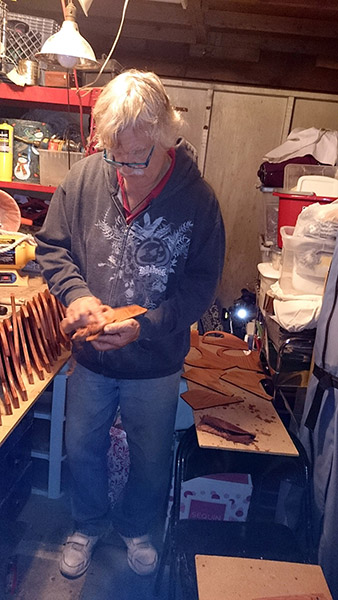
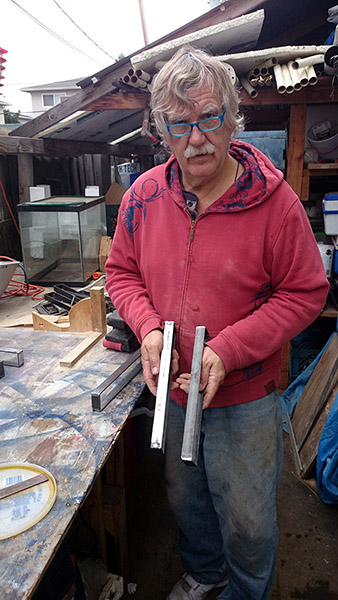
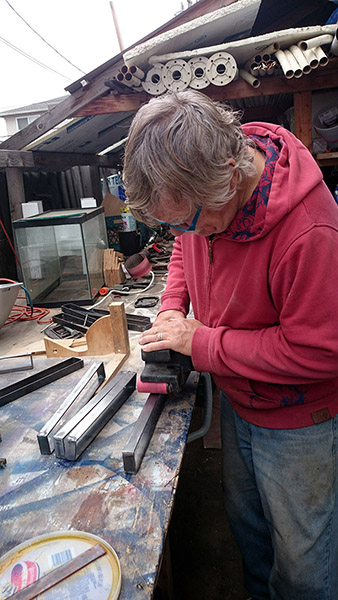
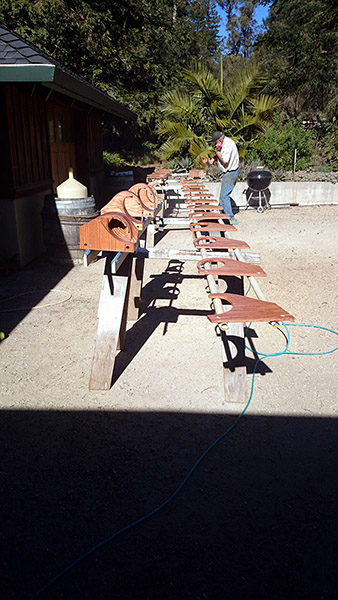
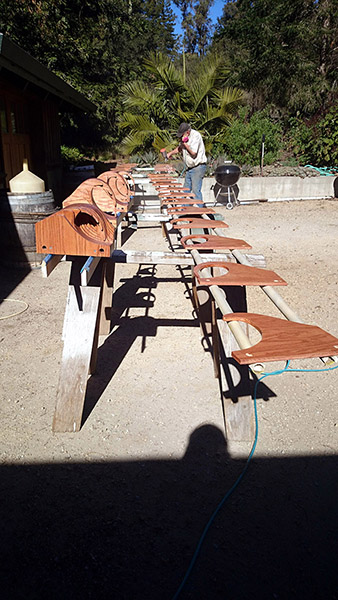
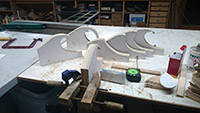
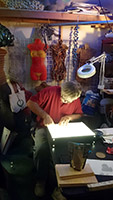
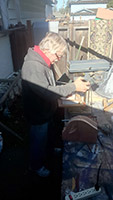
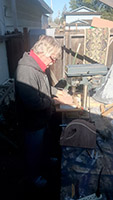
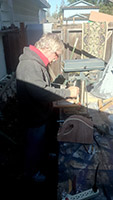
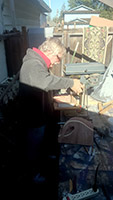
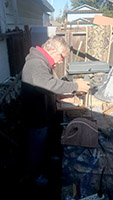
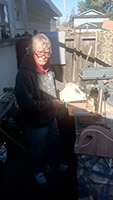
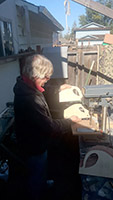
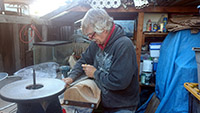
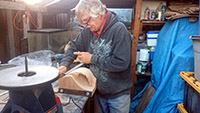
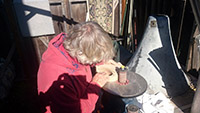
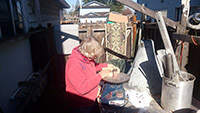
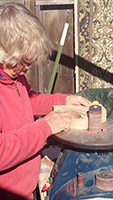
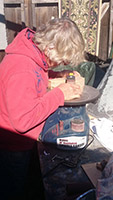
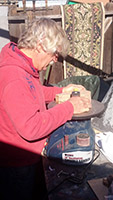
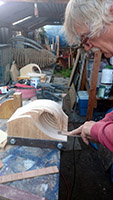
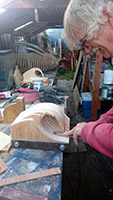
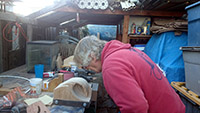
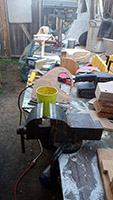
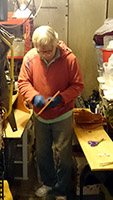
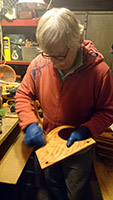
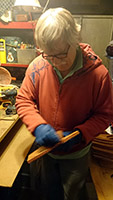
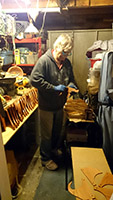
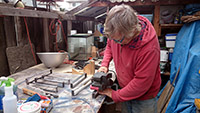
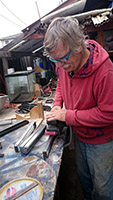
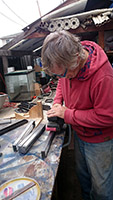
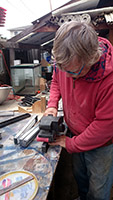
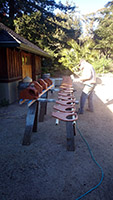
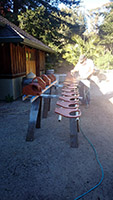
 The next step was to begin the arduous sanding process. These shots are taken at John's shop. |
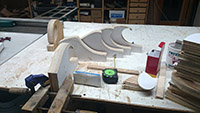 Clamps are a necessity to make the sanding easier. One clamp to hold the wood, another to clamp the clamp to the table. |
 |
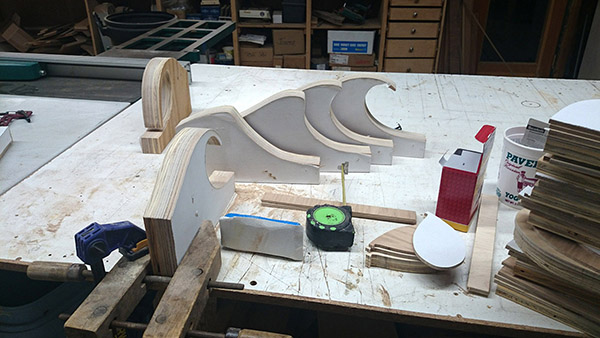
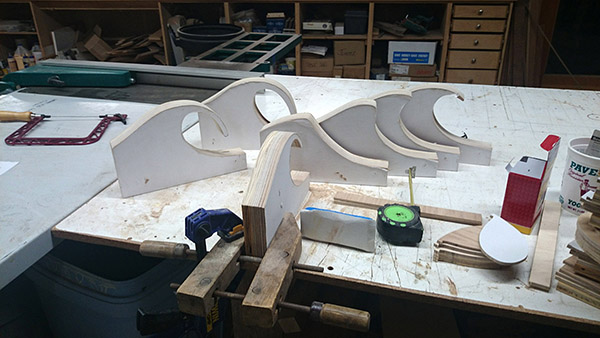
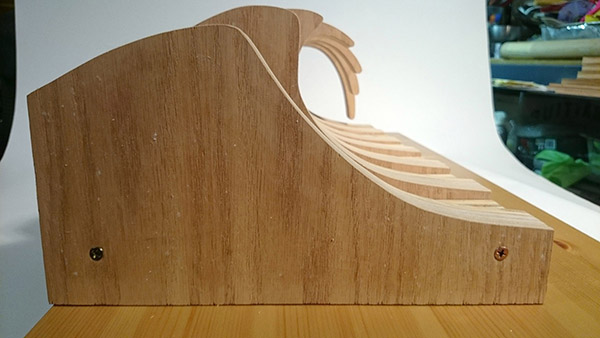
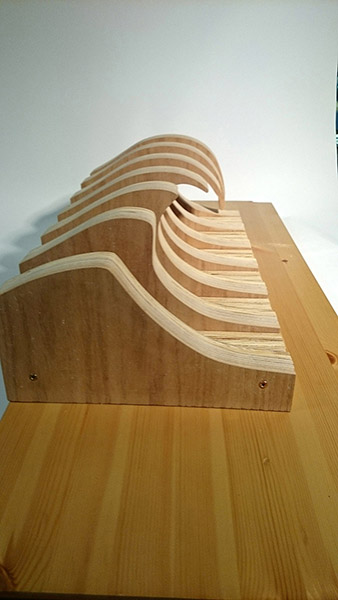
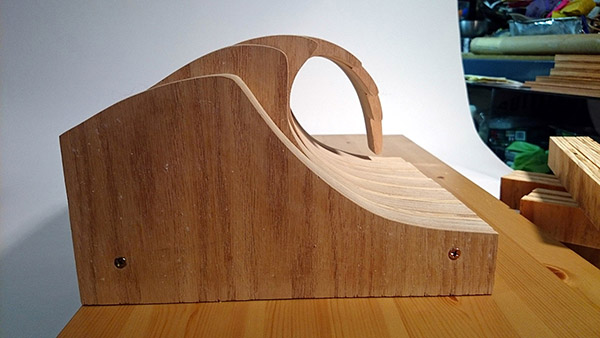
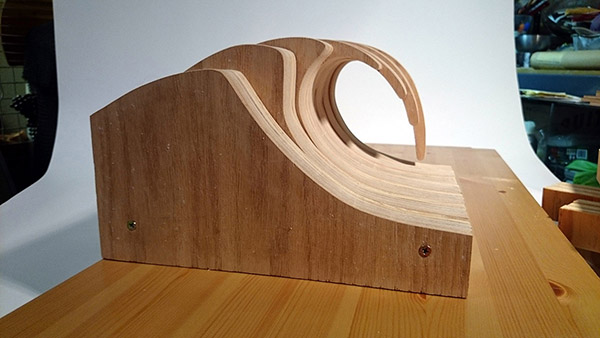
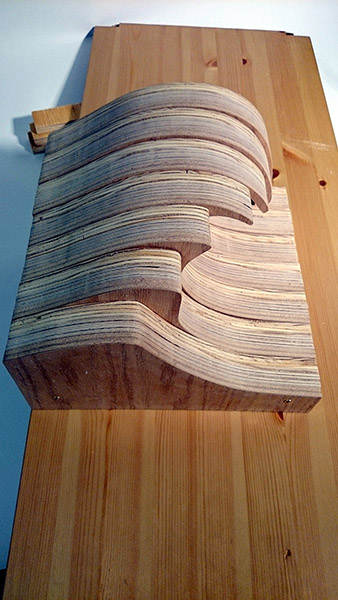
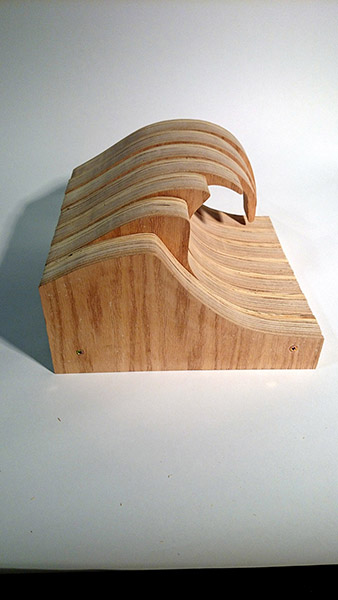
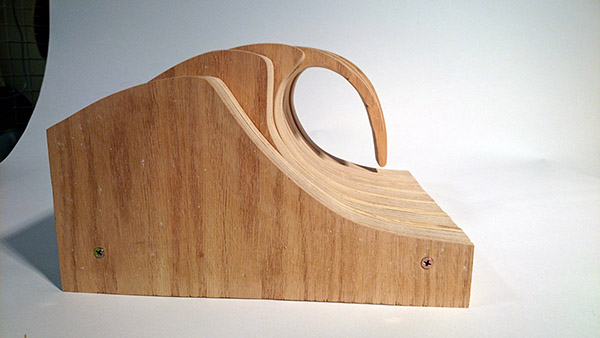
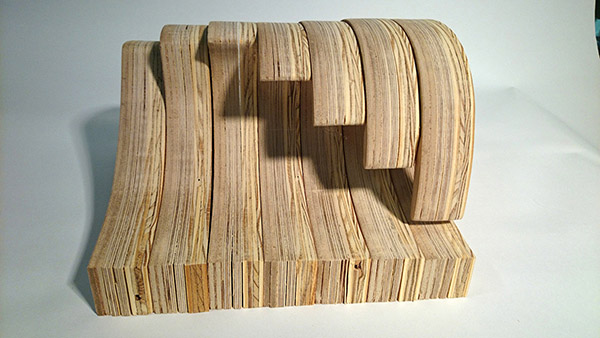
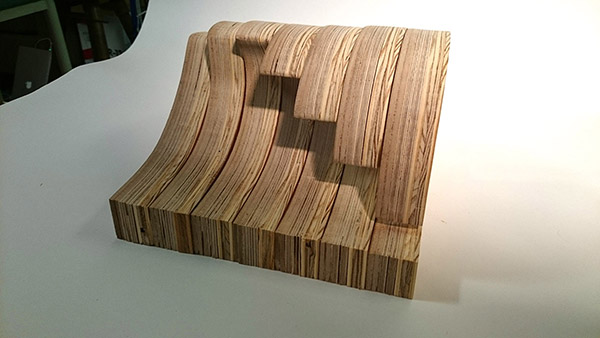
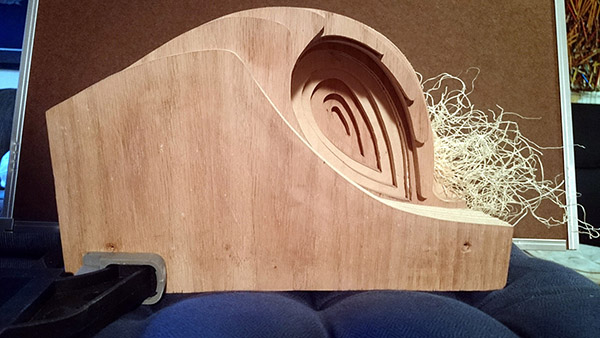
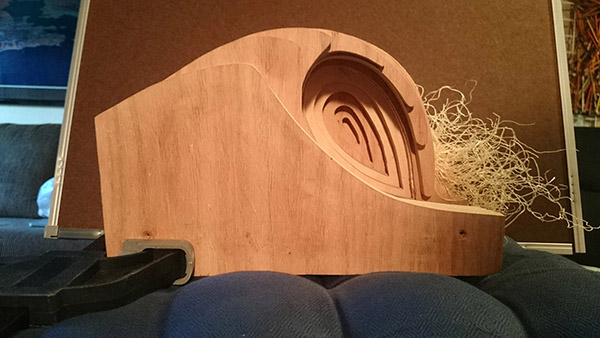
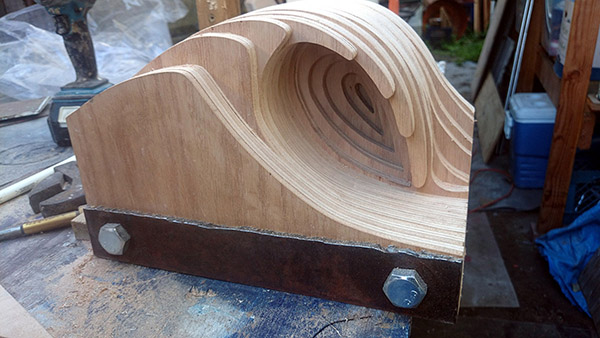
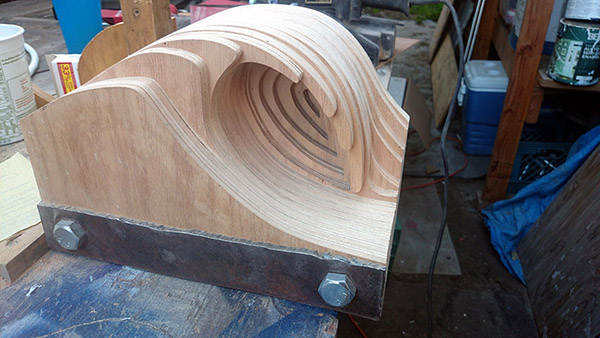
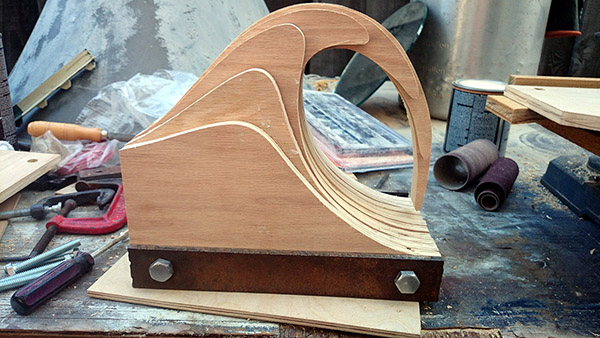
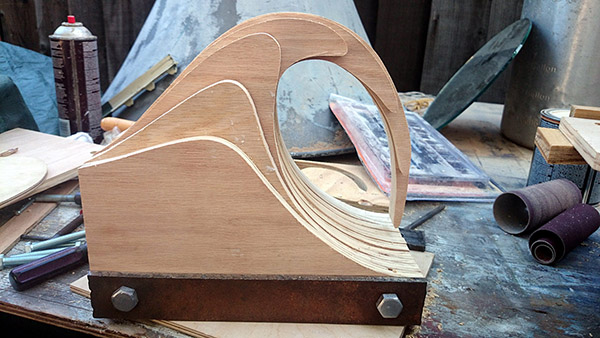
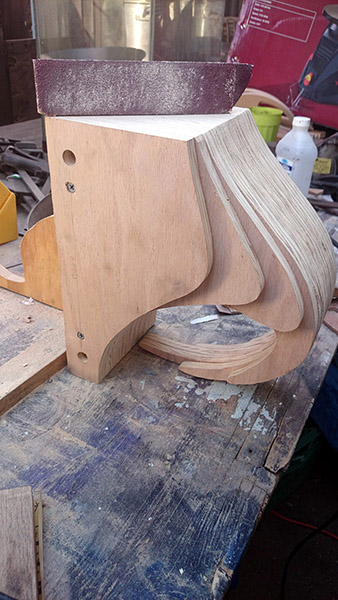
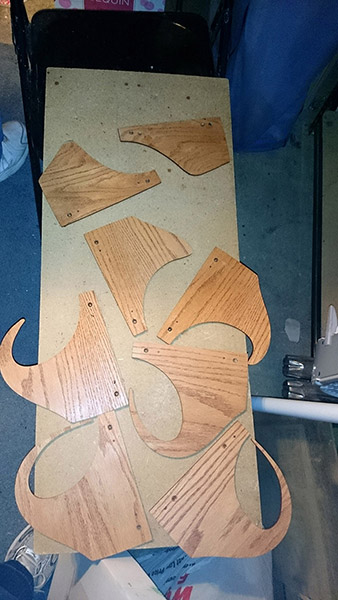
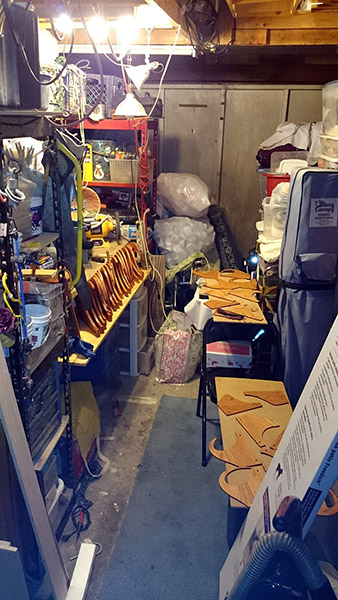
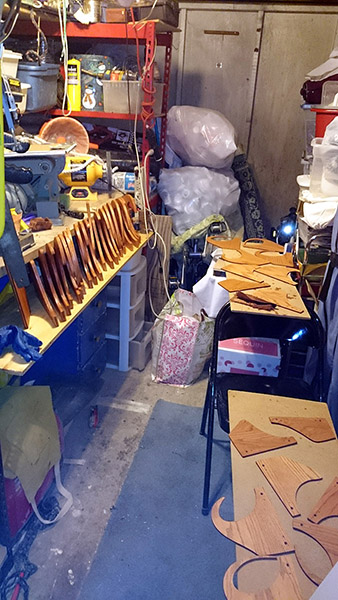
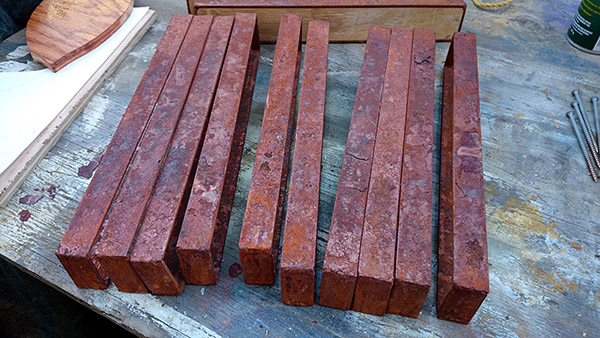
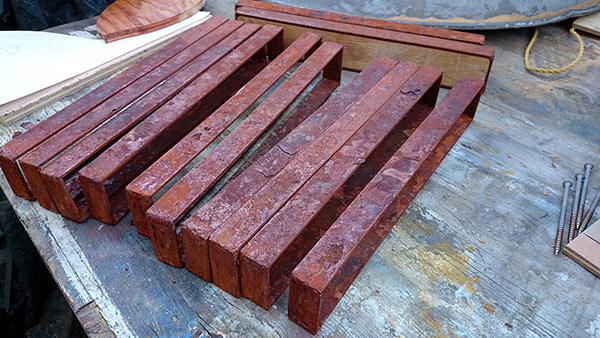
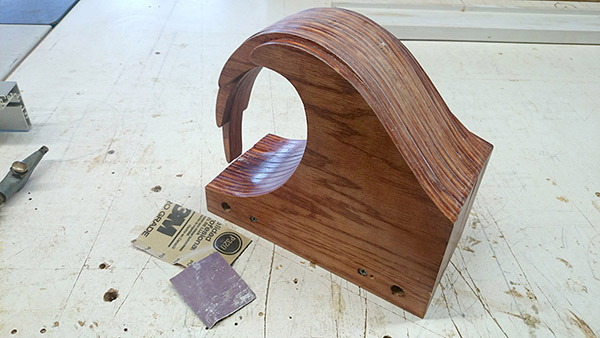
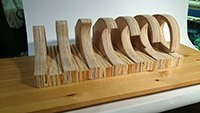
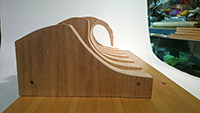
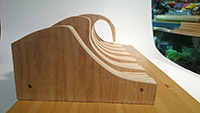
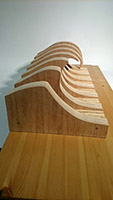
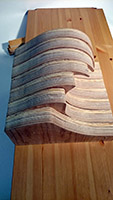
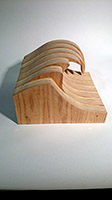
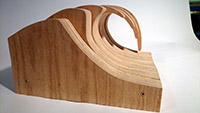
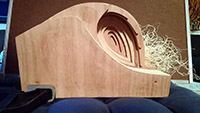
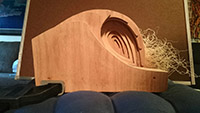
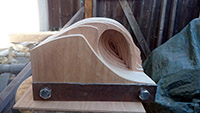
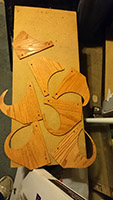
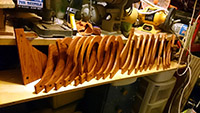
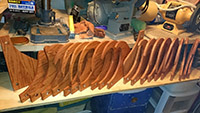
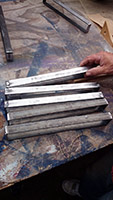
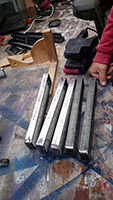
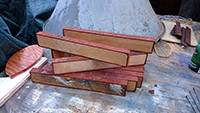
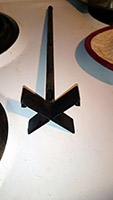
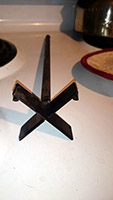
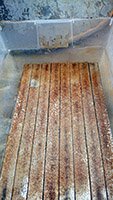
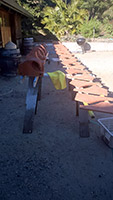
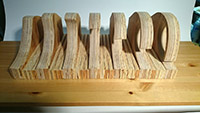 Back at home, I shot a few photos of the still attached ribs. It would make a pretty cool trophy just as is! |
 |
 |
 |
 |
 |
 |
 |
 |
 |
 |
 |
 |
 |
 |
 |
 |
 |
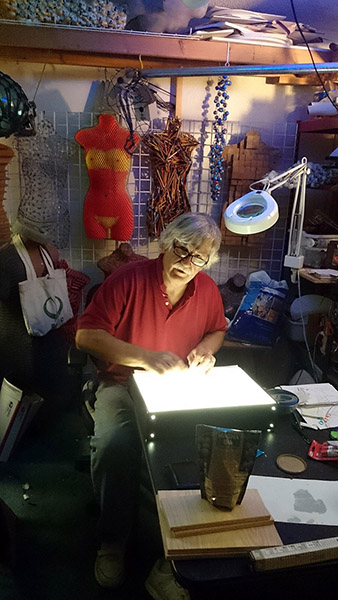
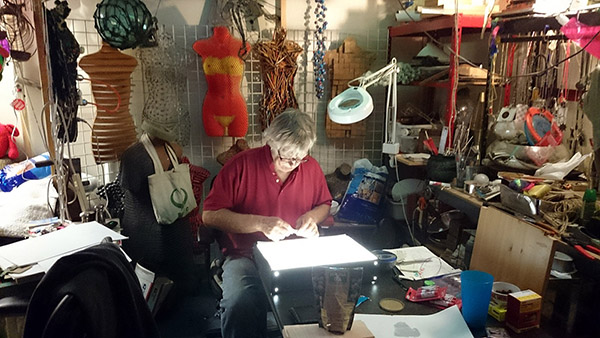
 The larger 1st place ribs were printed on 2 tabloid sheets of paper. Here I'm using a light box to align and tape the pieces together. |
 |
 |
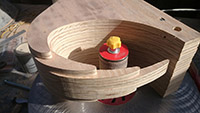
 Here is the Best Barrel trophy pieces with some Excelsior packing material I attached to see if it would look like water spraying up in front as the wave crashes down. Looked kinda ok, but decided it wasn't the right look. |
 |
 |
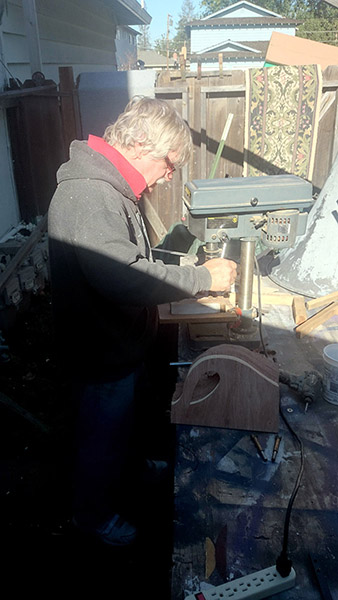
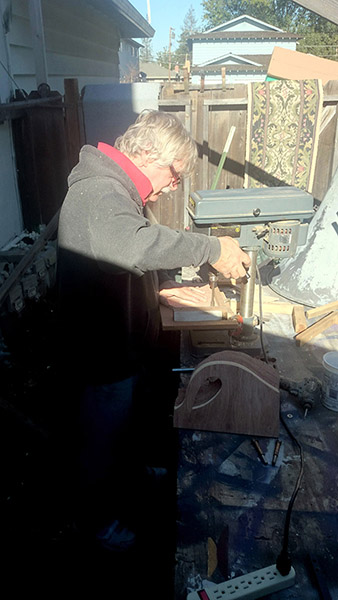
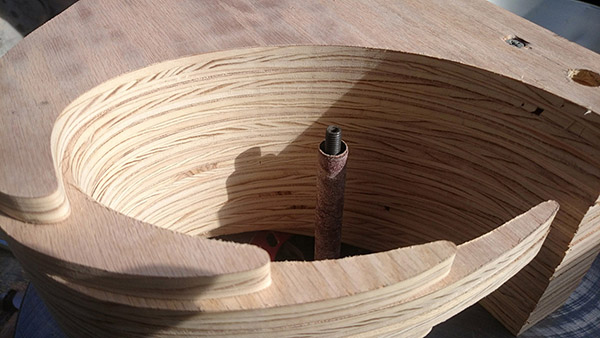
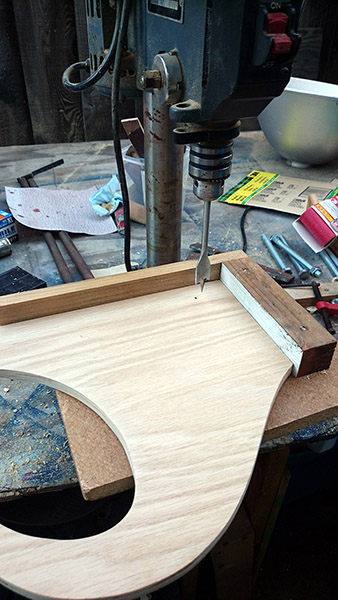
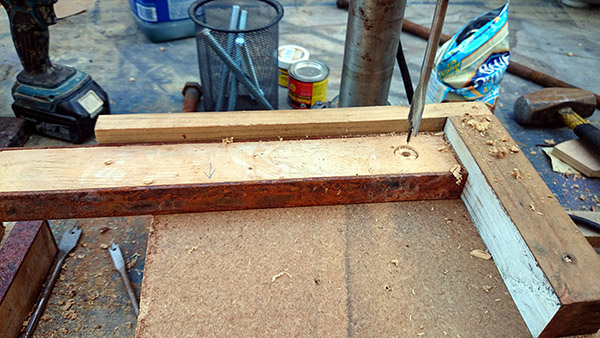
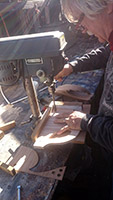
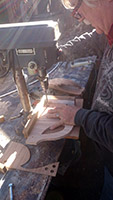
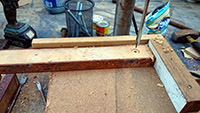
 The metal front and back plates will be attached to the stack of ribs with 2 bolts running through them. I needed to set up a jig to drill the bolt holes through all the ribs in the exact same position as the holes in the plates. |
 |
 |
 |
 |
 |
 |
 |
 |
 |
 |
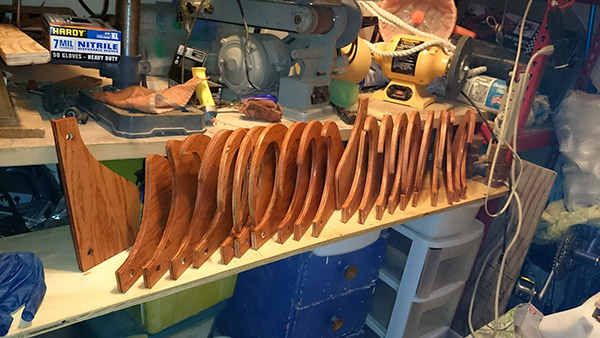
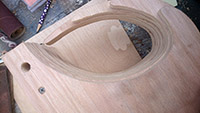
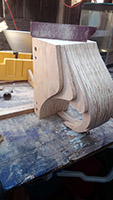
 Once all bolted together, I sanded the upper surfaces of the trophies to get a nice smooth shape. It started with a rasp and progressed to coarse then finer and finer sand paper grits down to about 320. |
 |
 |
 |
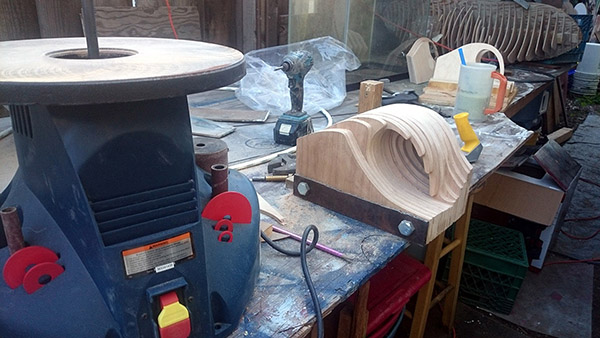
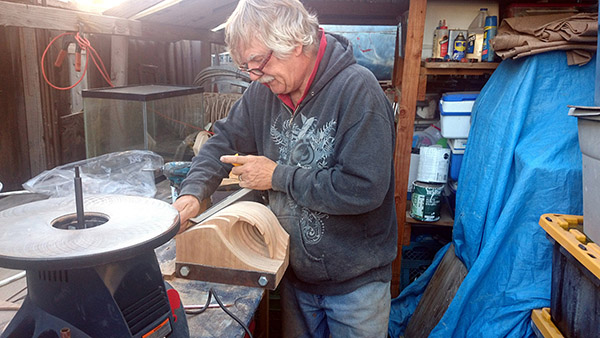
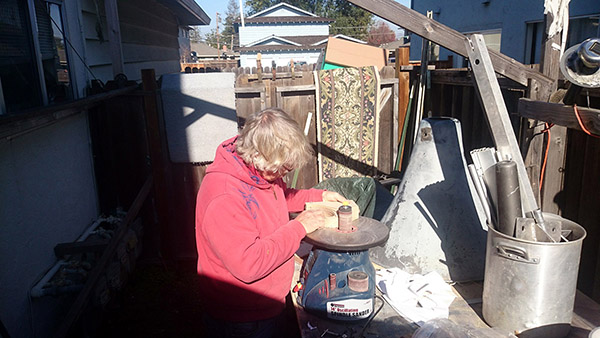
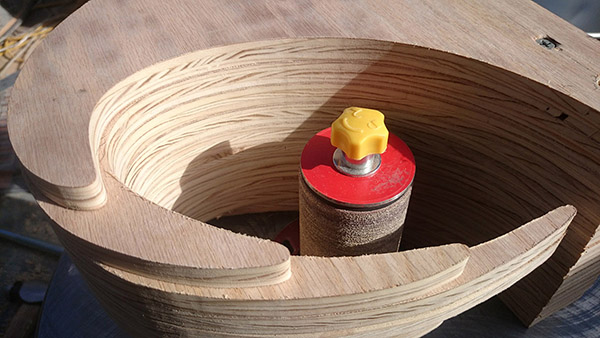
 My new toy, an oscillation spindle sander, greatly helped to get the trophy ribs to the right shapes. |
 |
 |
 |
 |
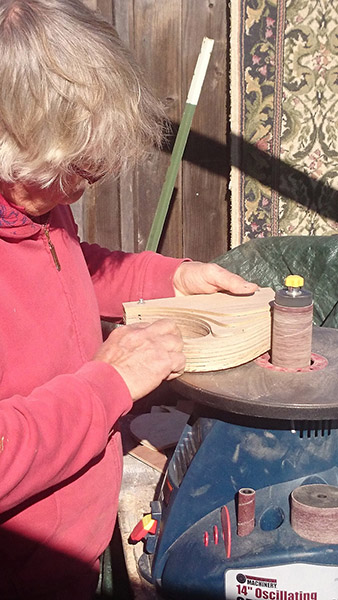
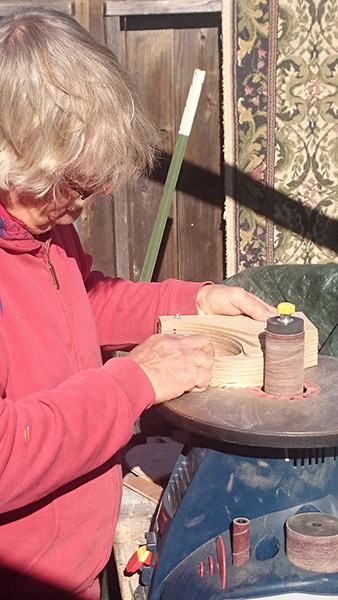
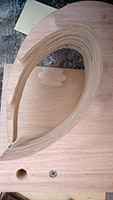
 The spindle sander is even more helpful on the inner parts of the curl where my big fat fingers can't reach. |
 |
 |
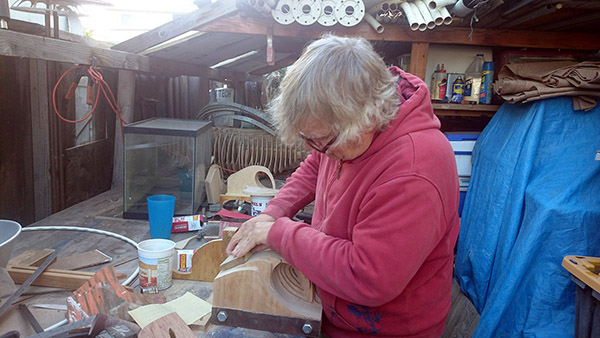
 Powered tools can only go so far. many spots need to be sanded by hand to get the right shape. The whole surface of all the trophies was finished with manual sanding-gotta feel what you're doing, and machines can work a little to fast and deep if you're not careful. |
 |
 |
 |
 |
 |
 |
 |
 |
 |
 |
 |
 |
 |
 |
 |
 |
 |
 |
 |
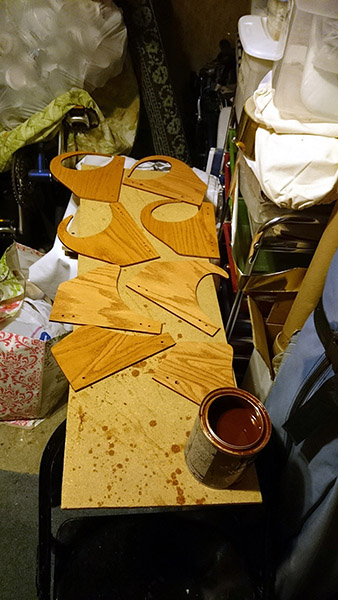
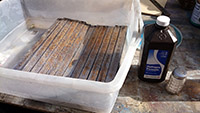
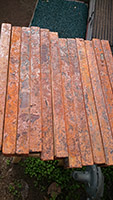
 Beginning to stain some of the ribs. |
 |
 |
 |
 |
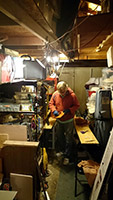
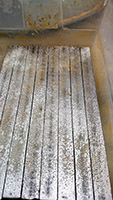
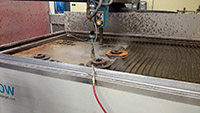 I went to the TechShop to watch sCary TIG weld some of the 1st place spacers together in front of a videographer documenting some of the steps in trophy construction, and the only shot I thought to take myself was of this big piece of equipment, a water jet cutter that was making a huge amount of noise 20' feet from us. |
 |
 |
 |
 |
 |
 |
 |
 |
 |
 |
 |
 |
 |
 |
 |
 |
 |
 Taking the mill scale off of the spacers that sCary had welded together. |
 Before and after |
 |
 |
 |
 |
 |
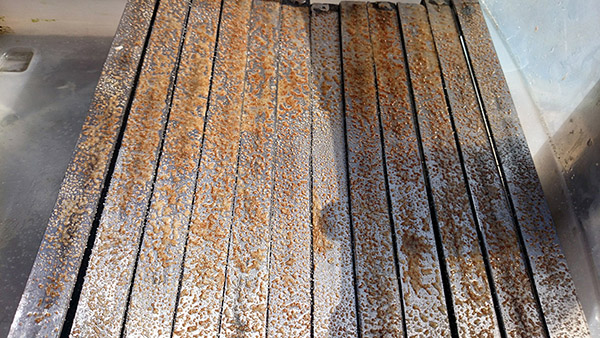
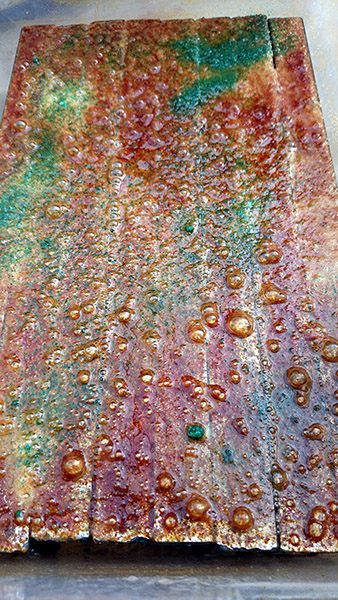
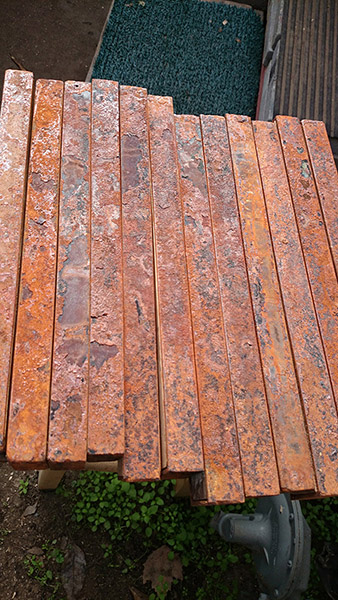
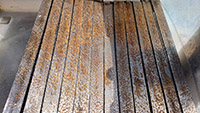
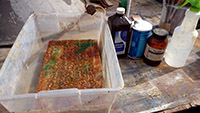
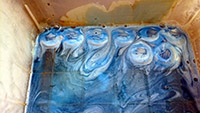
 Rusting the first batch of nice clean steel surfaces of the 1st place spacers is easy with some salt and hydrogen peroxide |
 |
 |
 Elapsed time less than an hour at this point, but I did submerge them all in salty water for a couple days. |
 |
 |
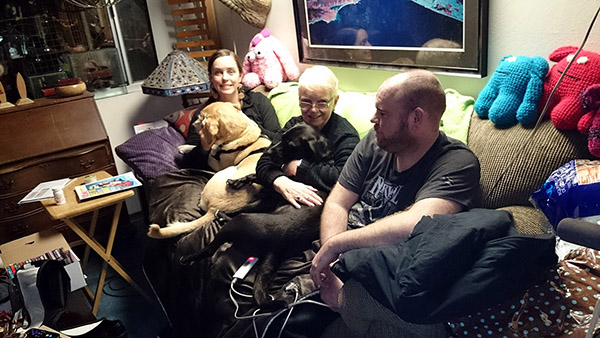
 Sarah,Dosa, Gwen, Luna and Sam hanging out on the couch with some monsters looking on. |
 |
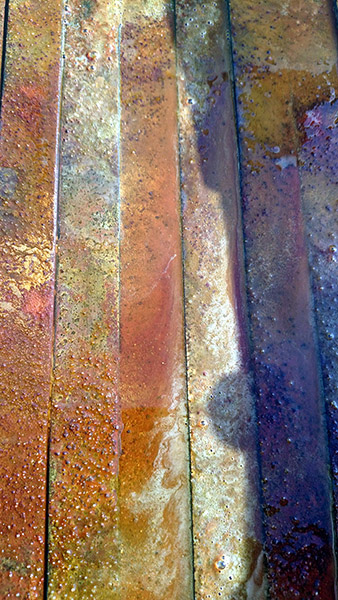
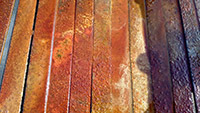
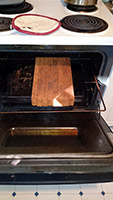 Baking the rusty spacers to fix the rust. Left them in for a couple hours at 300-350 degrees. |
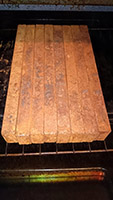 |
 Looks like more thn a few days of rust, doesn't it? |
 |
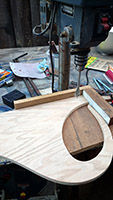
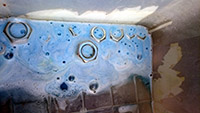
 Next, I snug fitted some wood into the spacers. Holes will be drilled to match up with the holes in the steel plates and ribs to which they need to align. |
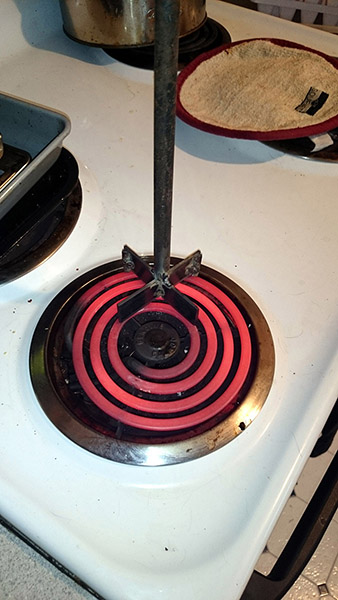
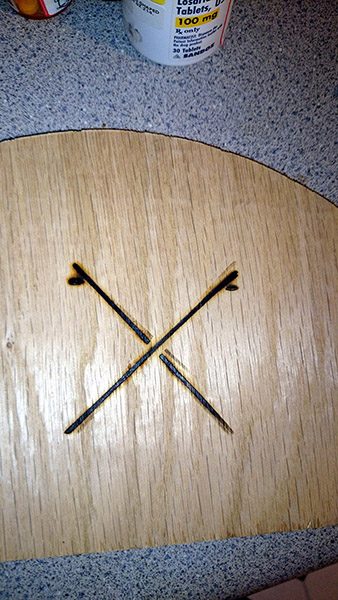
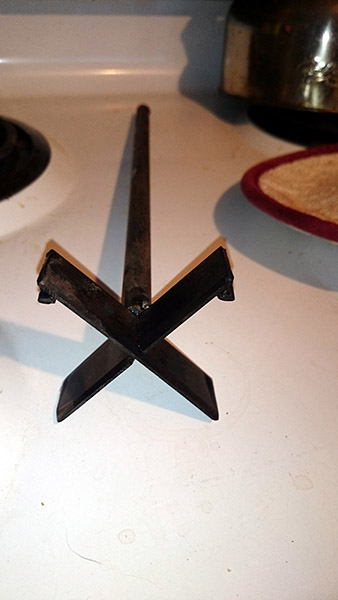
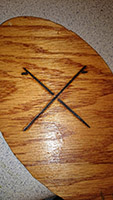
 I made a branding Iron to burn the crossed surfboard logo used by the Titans organizers. This was the first test heating. |
 |
 |
 |
 |
 |
 |
 |
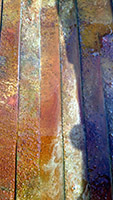
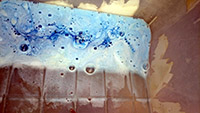
 Added some copper sulfate to the hydrogen peroxide to see if I could get some greenish cast to the metal in spots. Nope! |
 |
 |
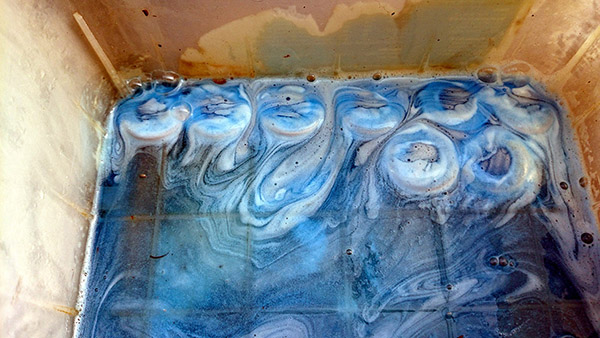
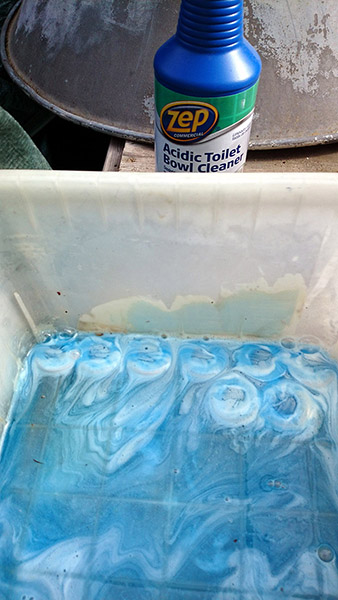
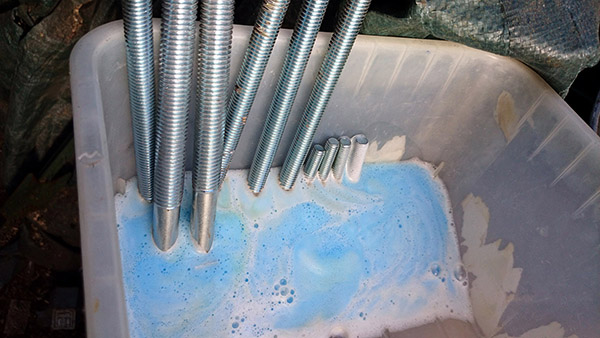
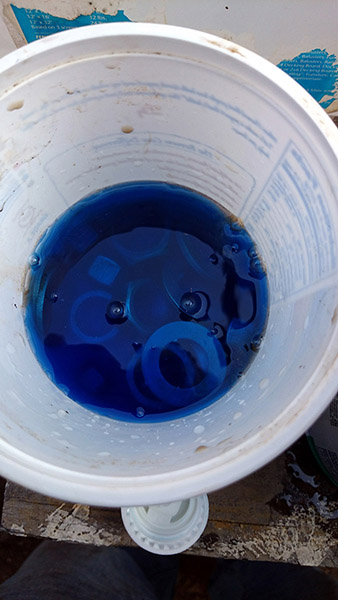
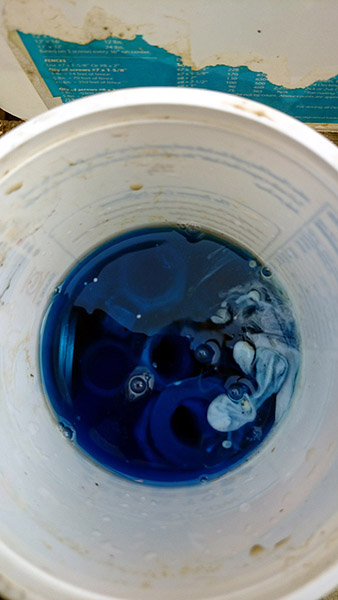
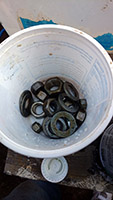
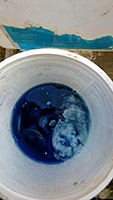
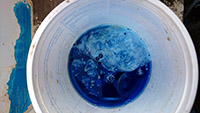
 To rust up the bolts and nuts that hold the trophies together, I needed to remove the plating that is made to cut down on rusting. I started by filing it off, but that took waaay too long. The next method was to soak them in strong acid, in this case some hydrochloric acid in a toilet bowl cleaning product. This stuff is potent stuff. (I dumped a container of it and reached in to the spilled mess to rescue the metal and my hands started burning right away-even after it had been chewing away at the steel for half an hour. Nasty!) |
 |
 |
 |
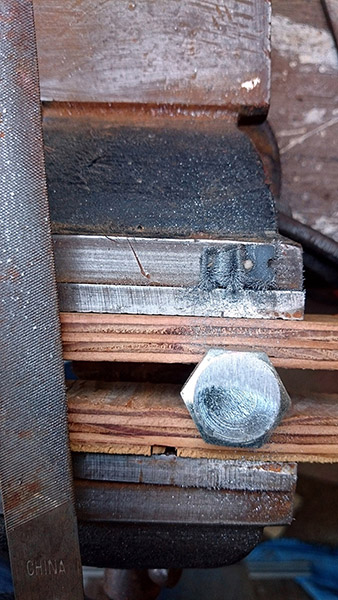
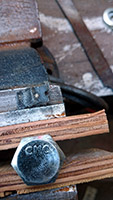 I didn't want to have writing/letters on the bolts to distract from the logos, so I filed them off. |
 |
 |
 |
 |
 |
 |
 |
 |
 |
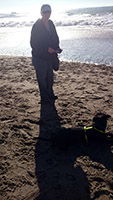 Gwen and Luna on the beach in Santa Cruz. |
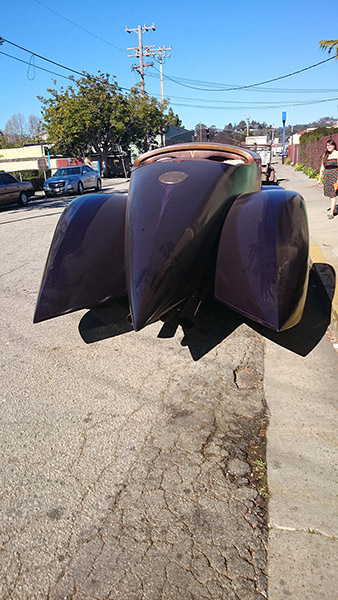
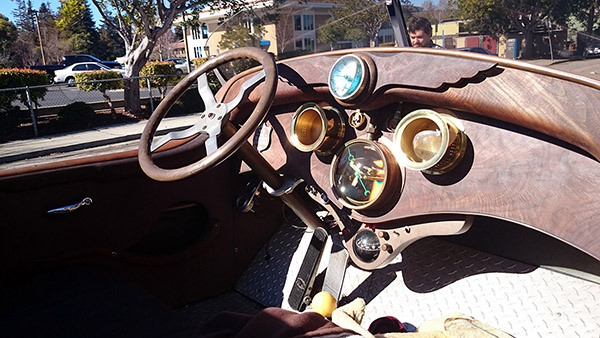
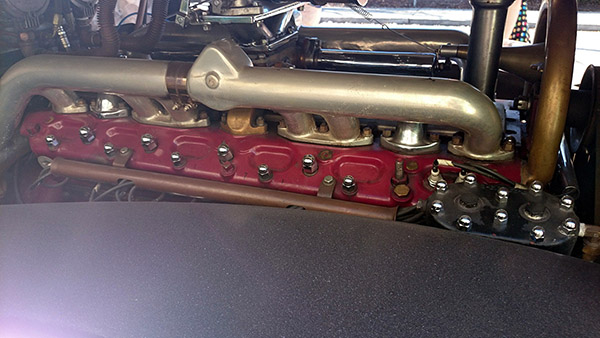
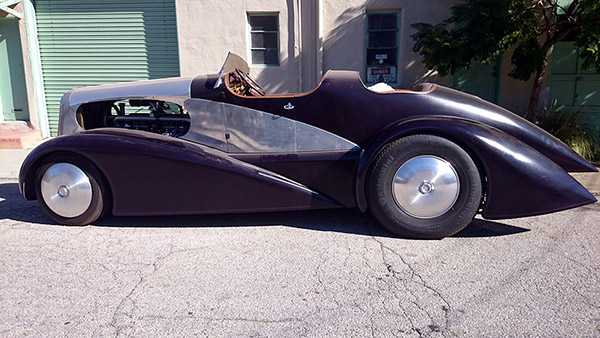
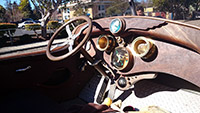
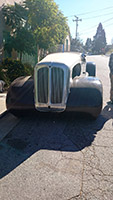
 Cool ride on the SC streets. |
 |
 |
 |
 |
 Back at John's place to give the stained wood a nice lacquer coat. Took 2 days toa apply an under coat, sand it smooth and then a final coat. |
 |
 |
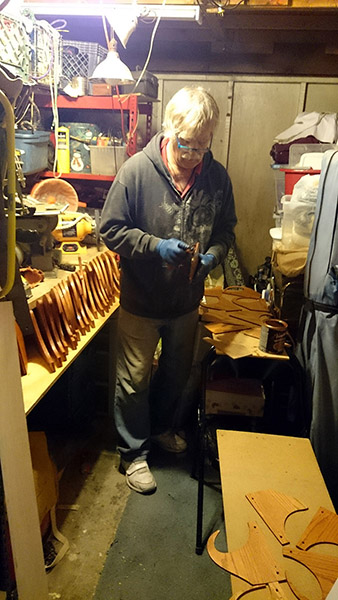
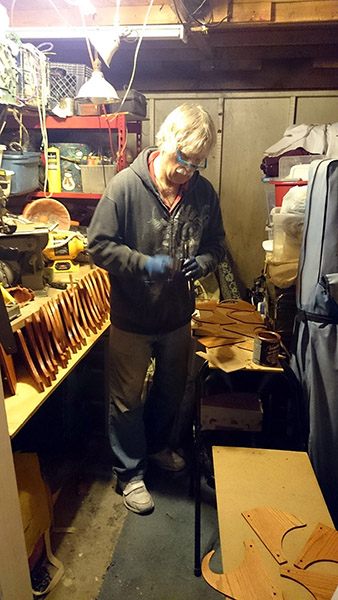
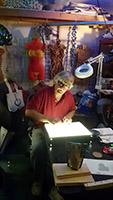
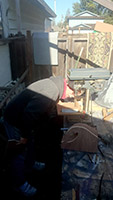
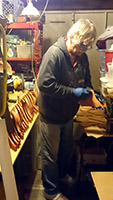
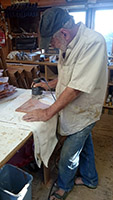 John doing some sanding. |
 |
 |
 |
 |