
Burningman 2020:
the Multiverse: CANCELLED due to Covid-19
Arising PhoenixBuilding a PhoenixHome
|
Building Starts
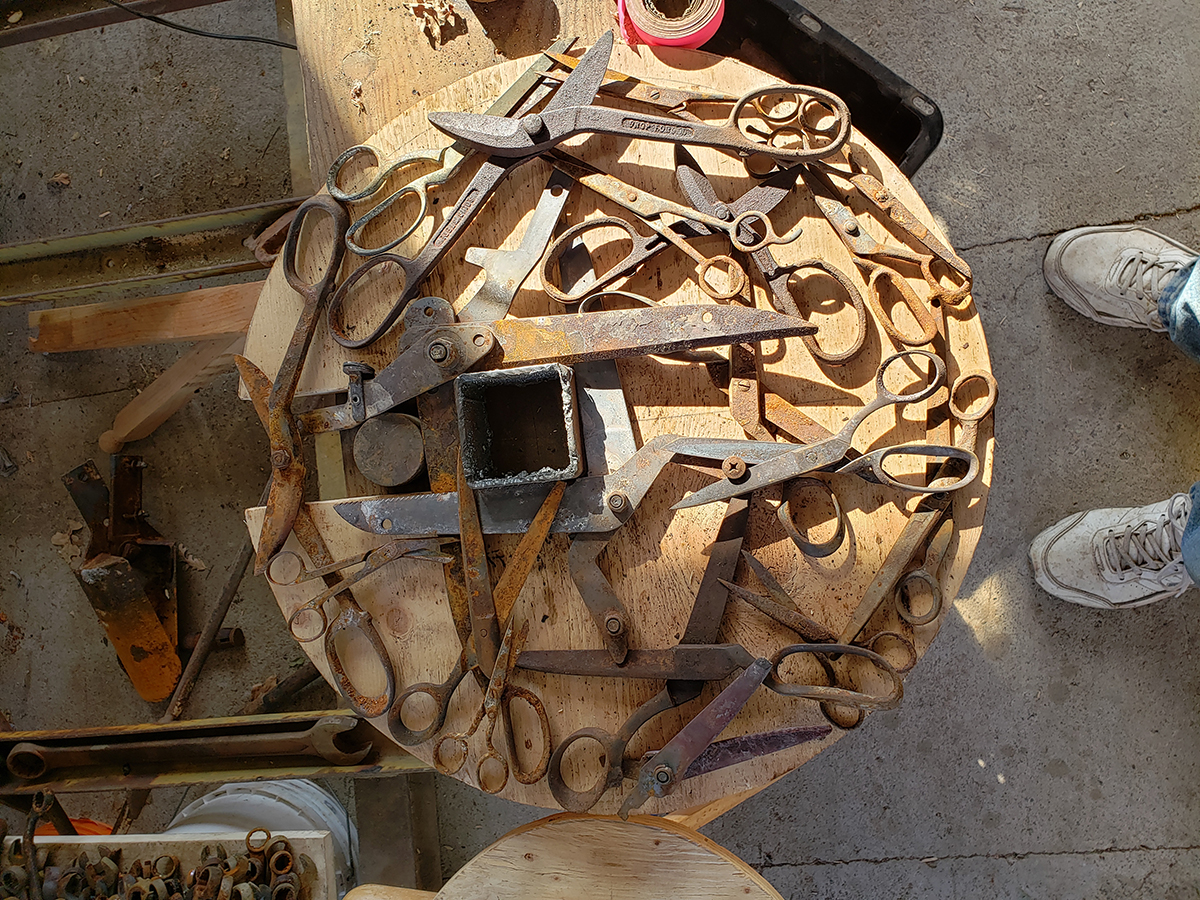
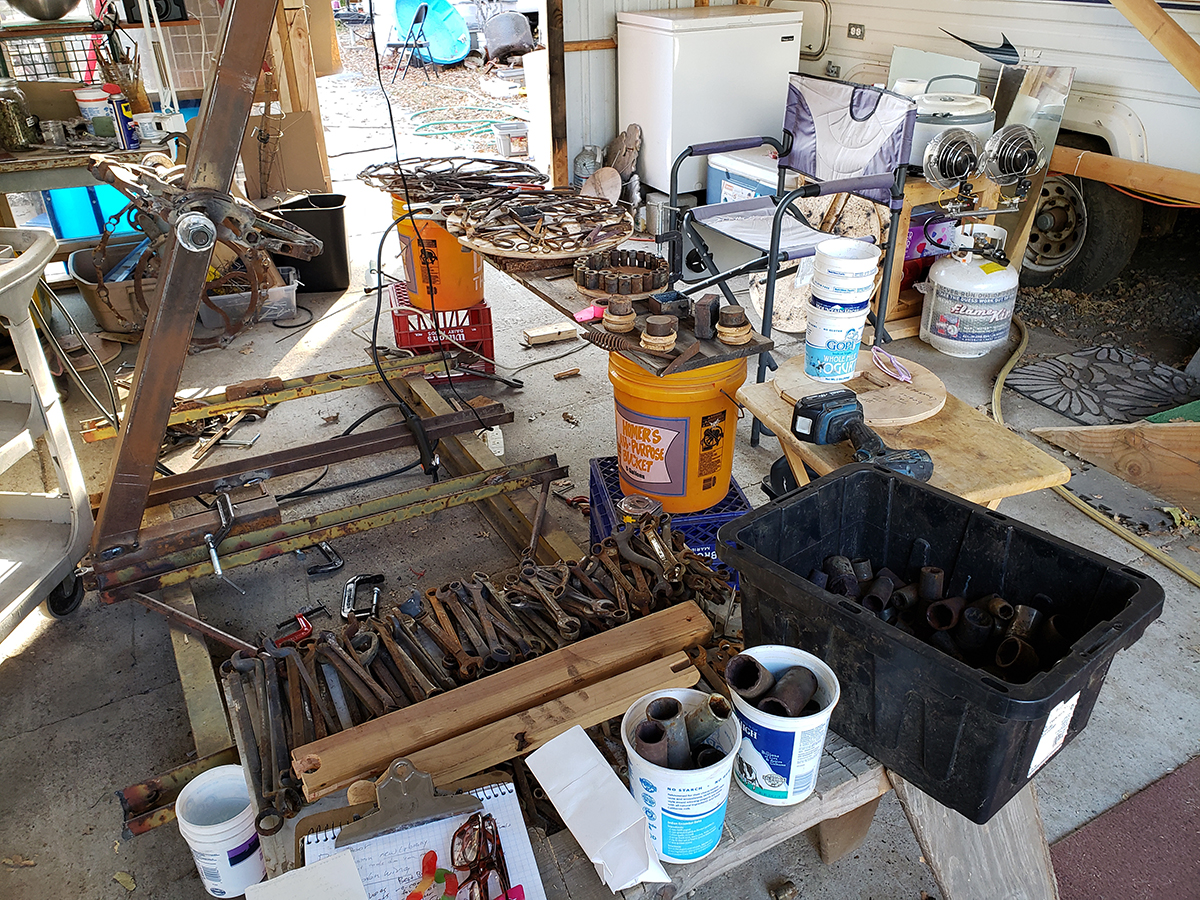
Finally I've built a dry space, have the rusty tools just outside the space, Bought a welder, and Gabe gave me a base to build on.previous | next
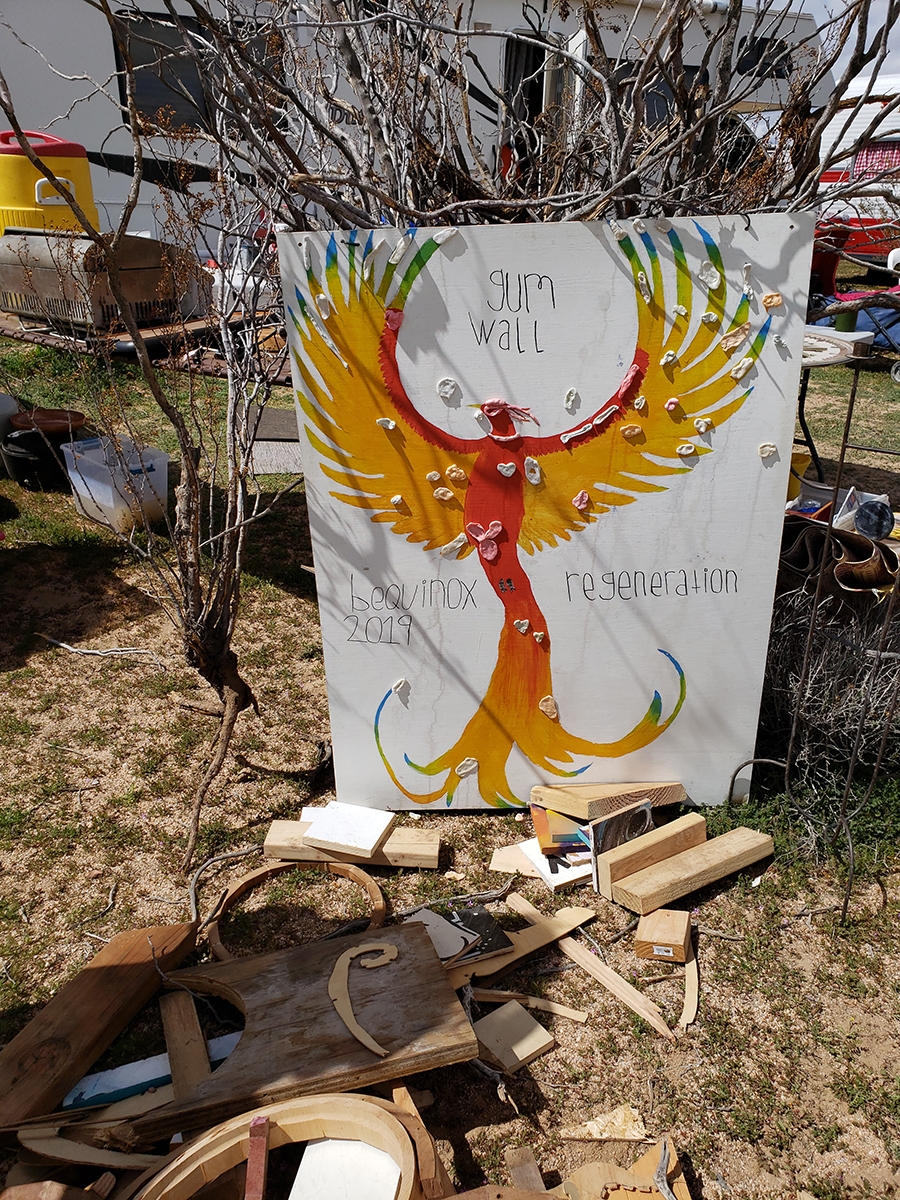
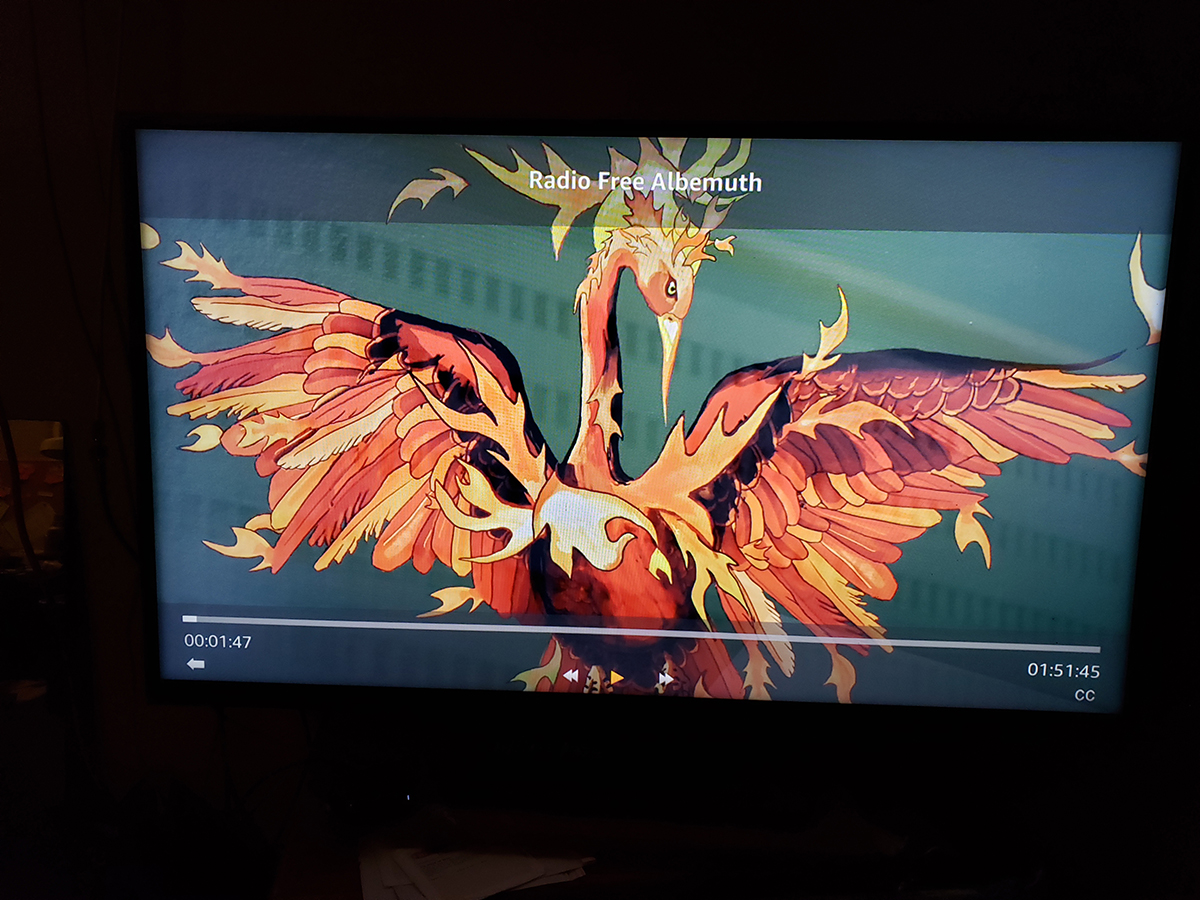
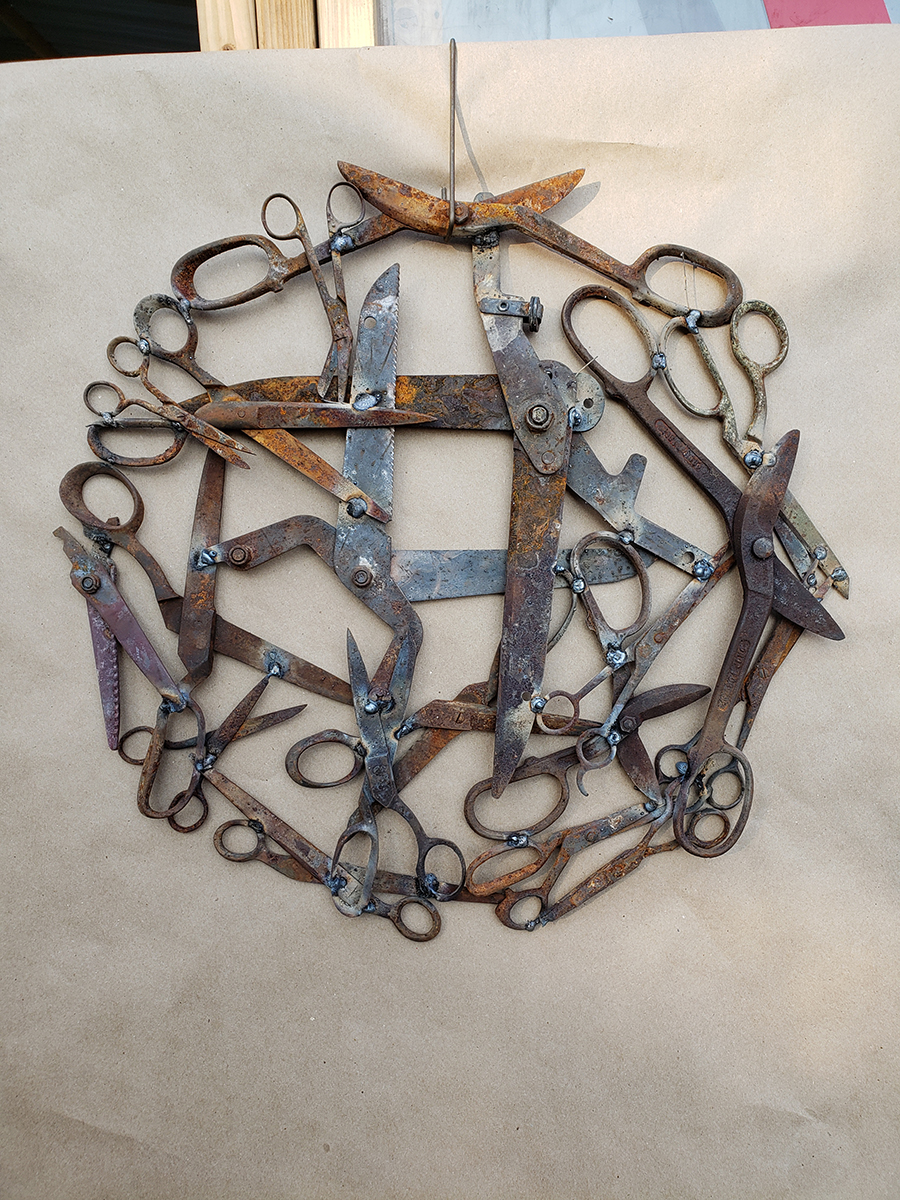
 I'm seeing Phoenixes everywhere. [orig. huge image] |
[orig. huge image] |
[orig. huge image] |
|
 Winter is coming so I built a 20x20' metal roof that overhangs the trailer we live in and the 10x20 container (from an old U-Haul truck) that is about 5' away. [orig. huge image] |
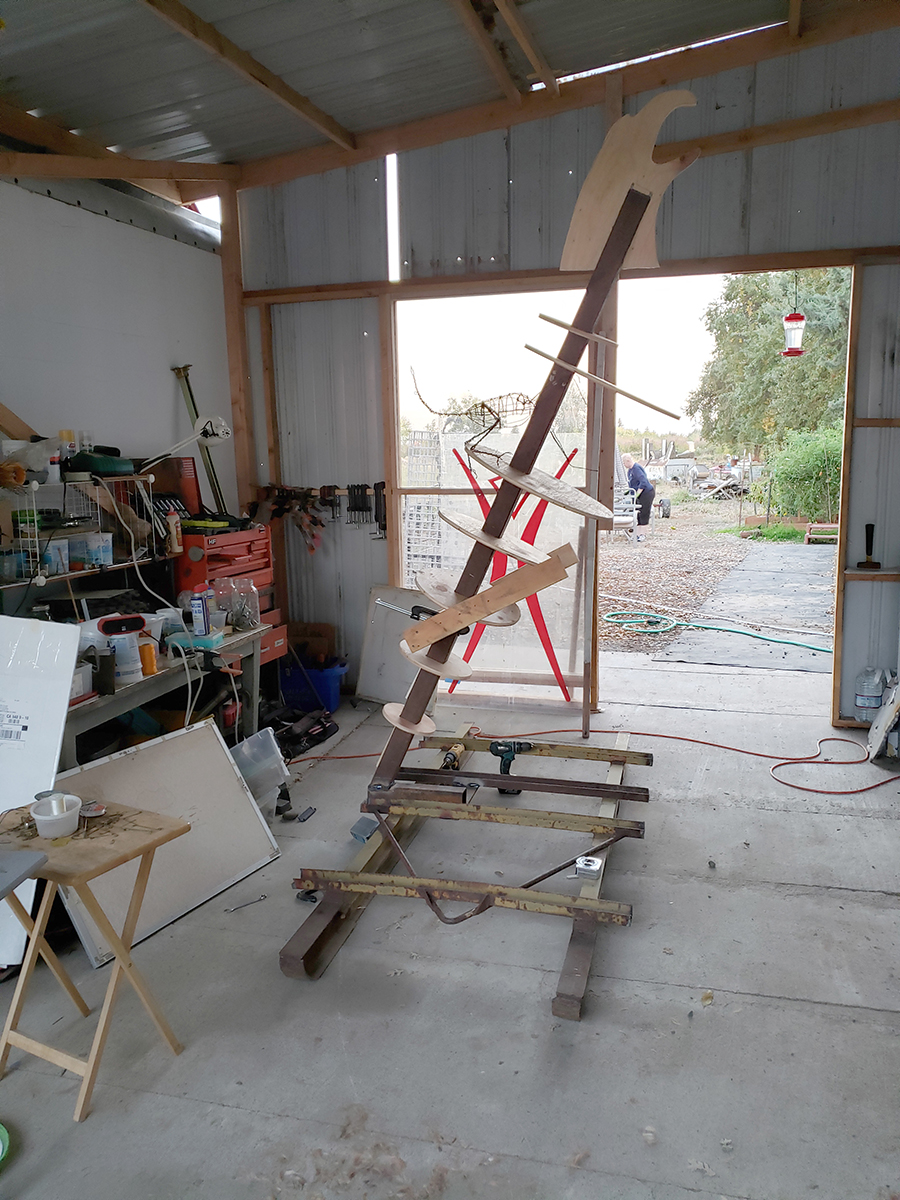
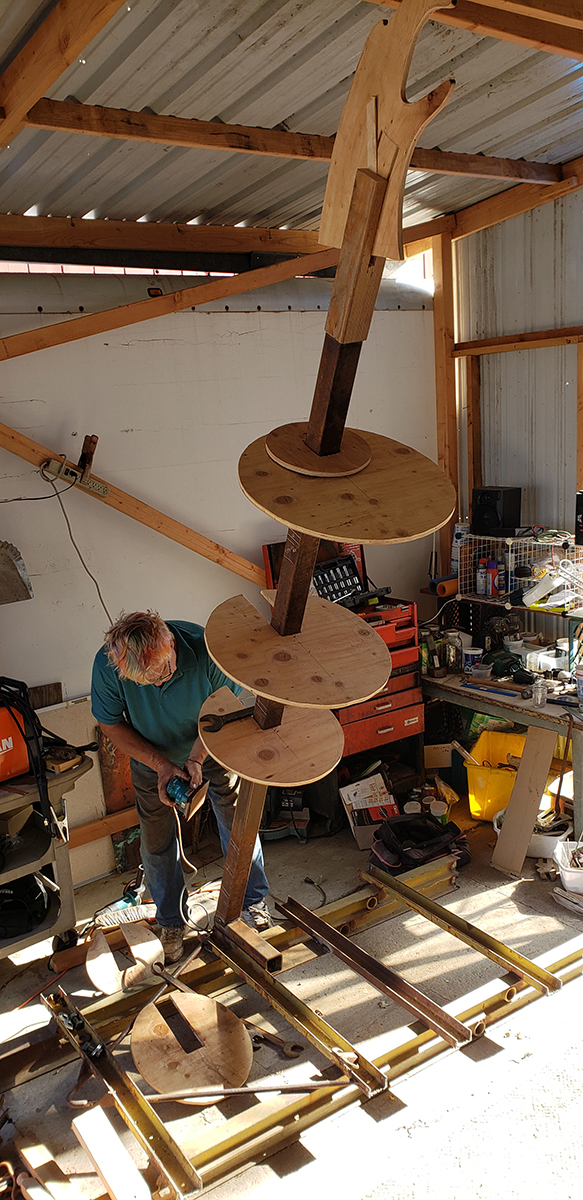
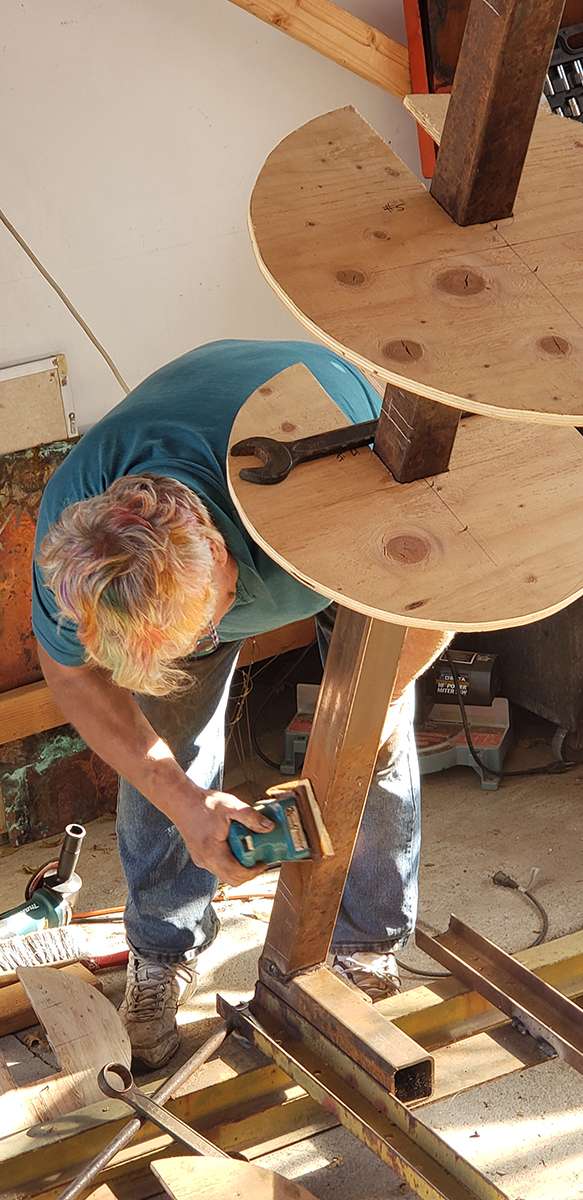
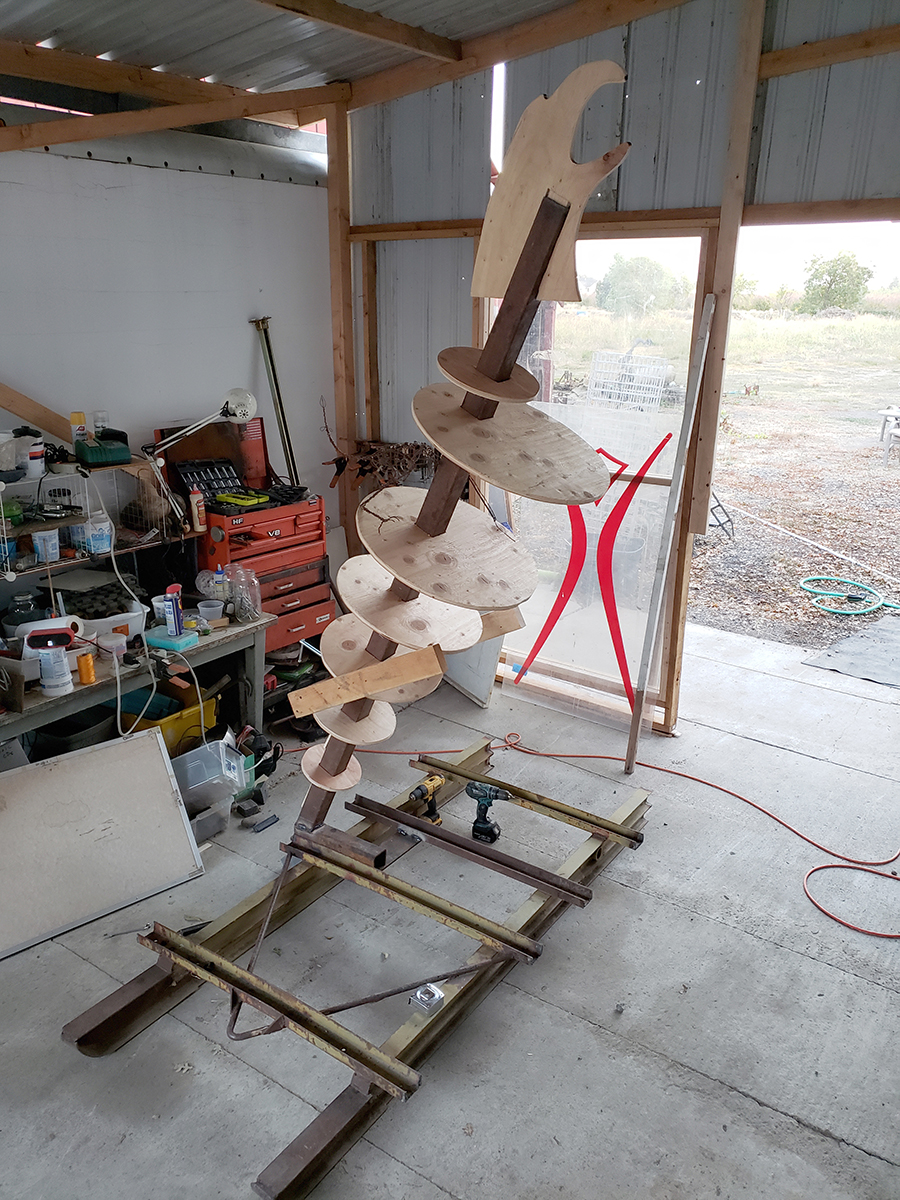 I cut 7 wooden disks based on my second small wire model I made (photo elsewhere in these pages). I moved them around for a week or 2 until I had the shape I wanted for the bird. [orig. huge image] |
 I have no Idea what the head is going to look like, but cut a rough head to make it more real. [orig. huge image] |
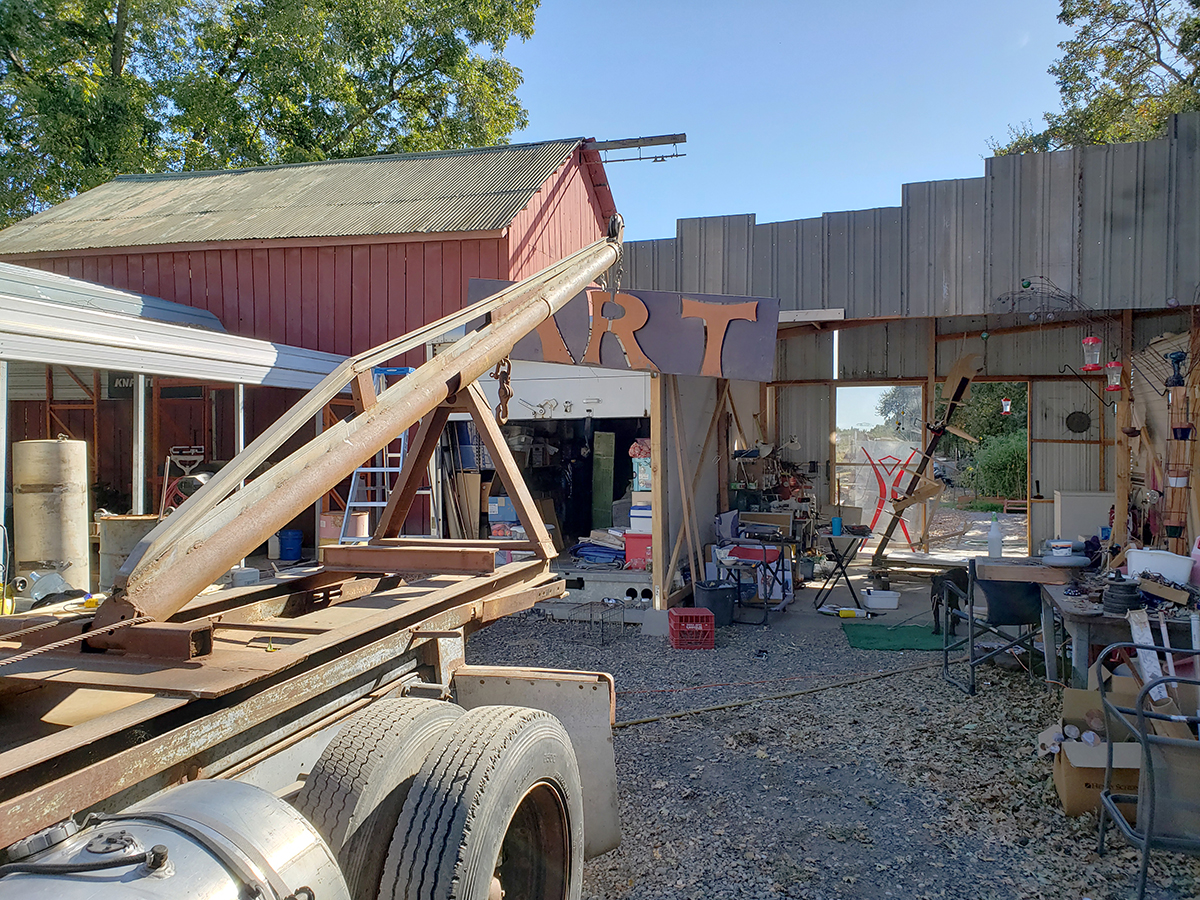 Mounting Gabe's 'ART' sign to the studio area. [orig. huge image] |
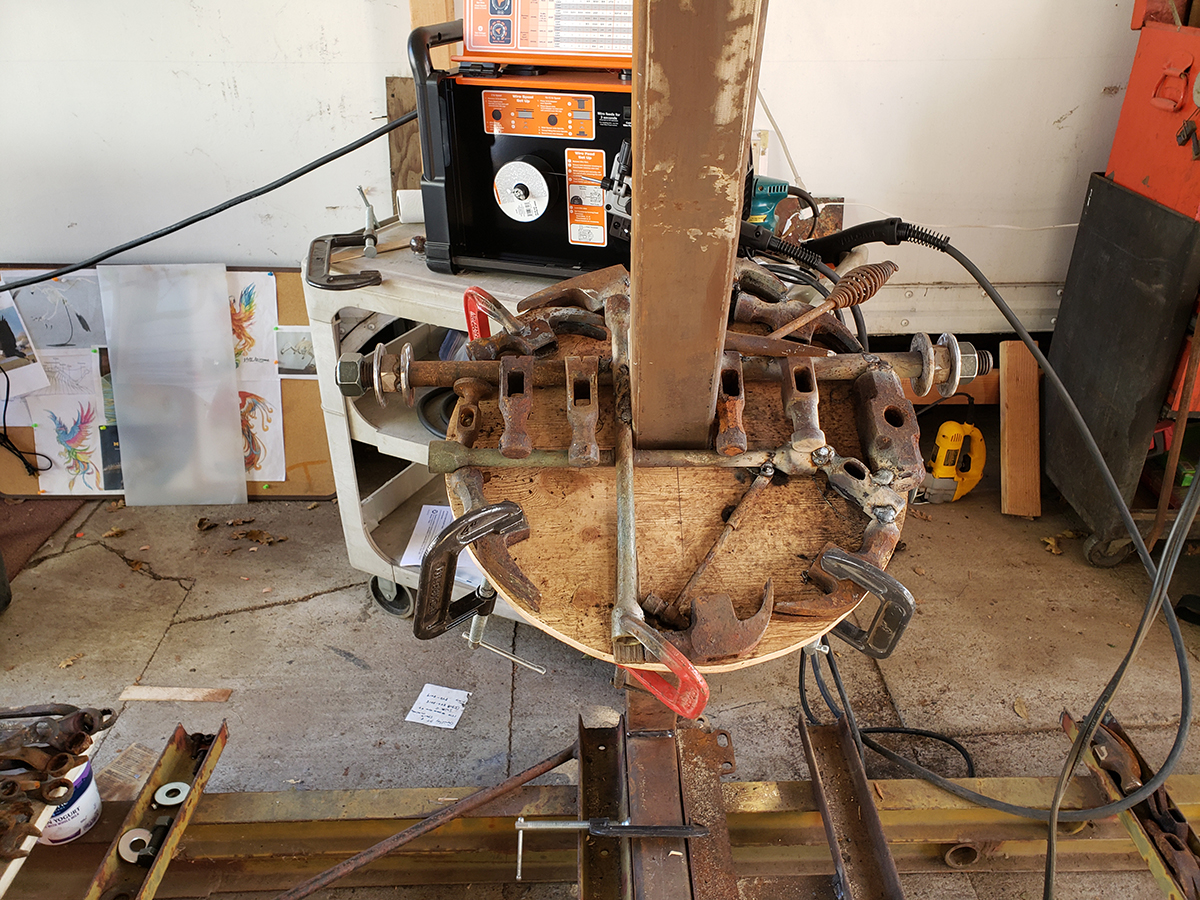
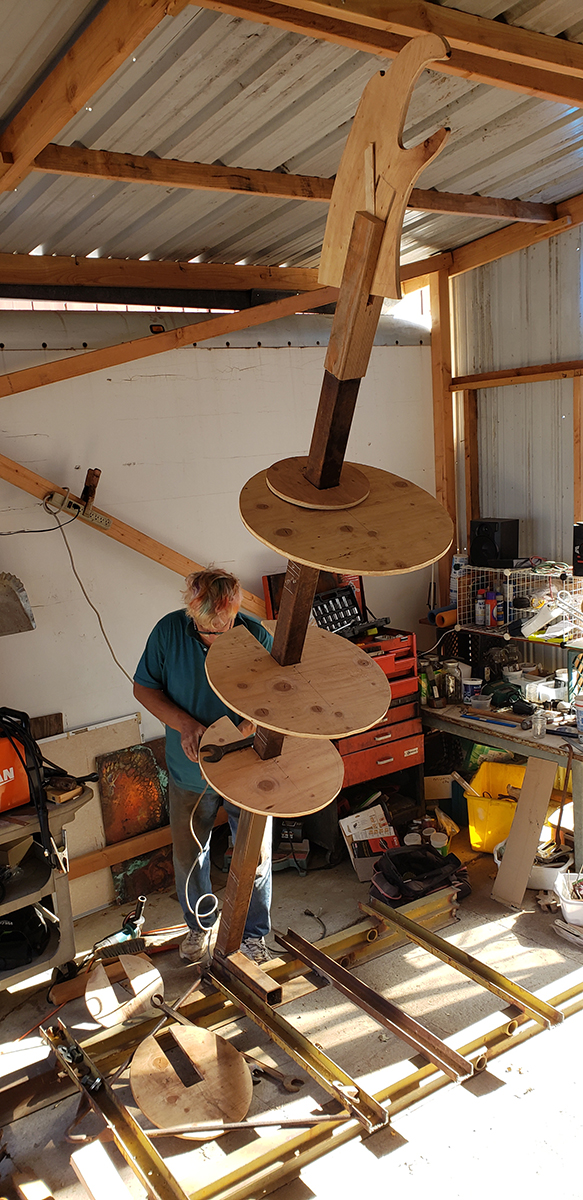 Sanding the coating & rust off the central support post. [orig. huge image] |
[orig. huge image] |
[orig. huge image] |
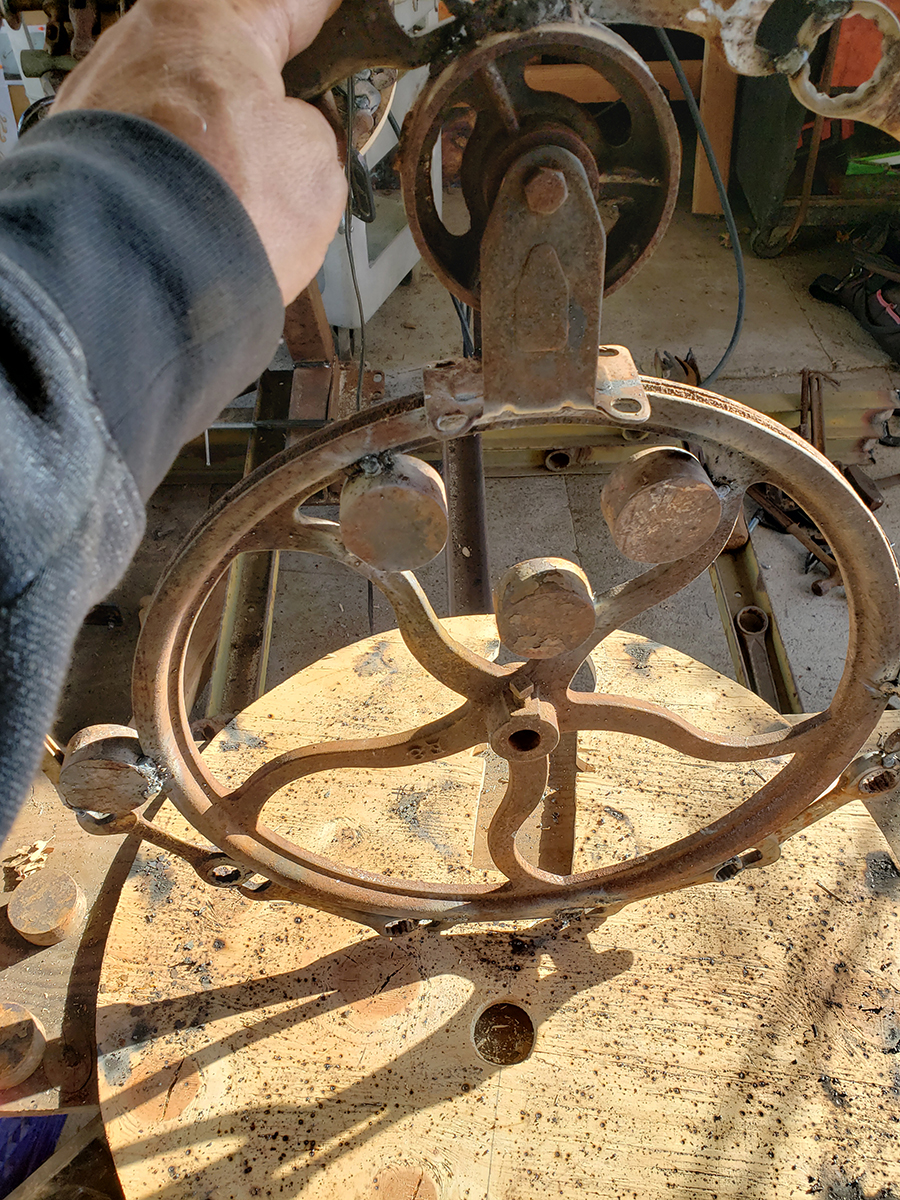
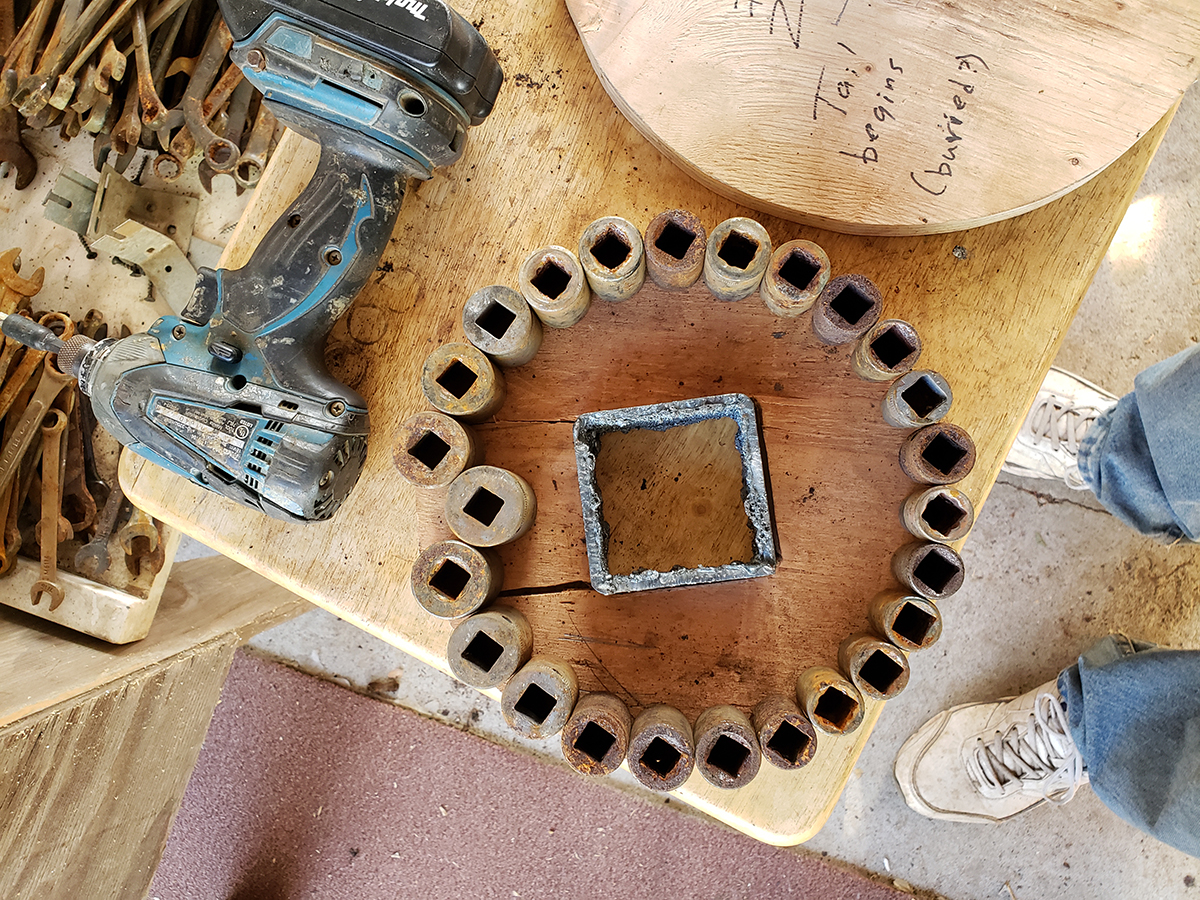
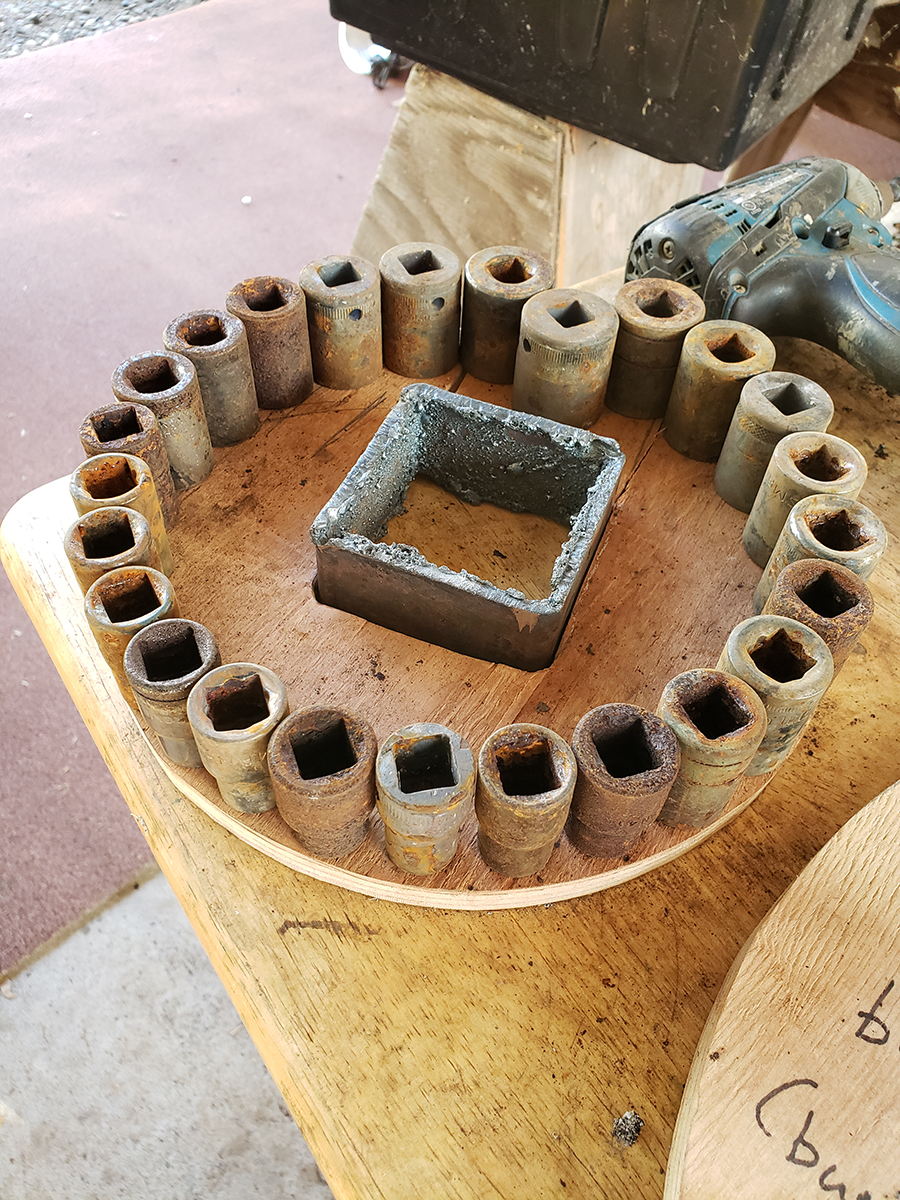
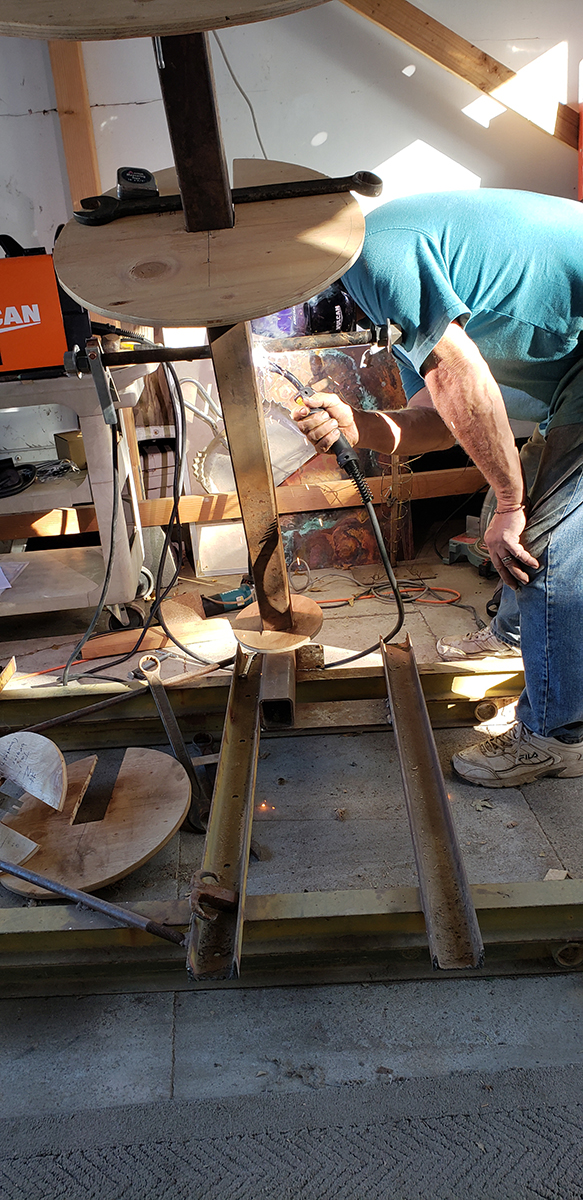 Welding on a long bolt that will support the 3rd ring that shapes the body and acts as the hip that will hold the legs. [orig. huge image] |
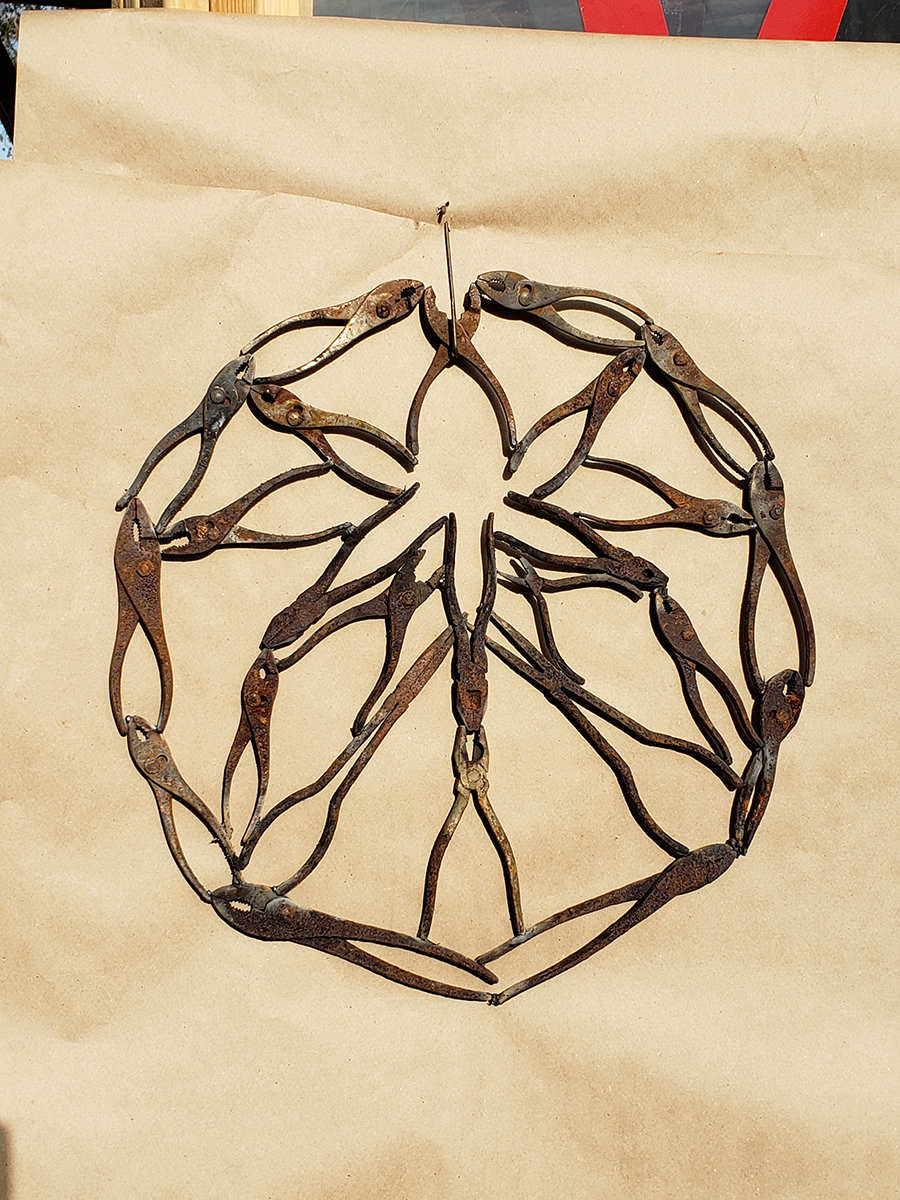
 Possible ring #6 [orig. huge image] |
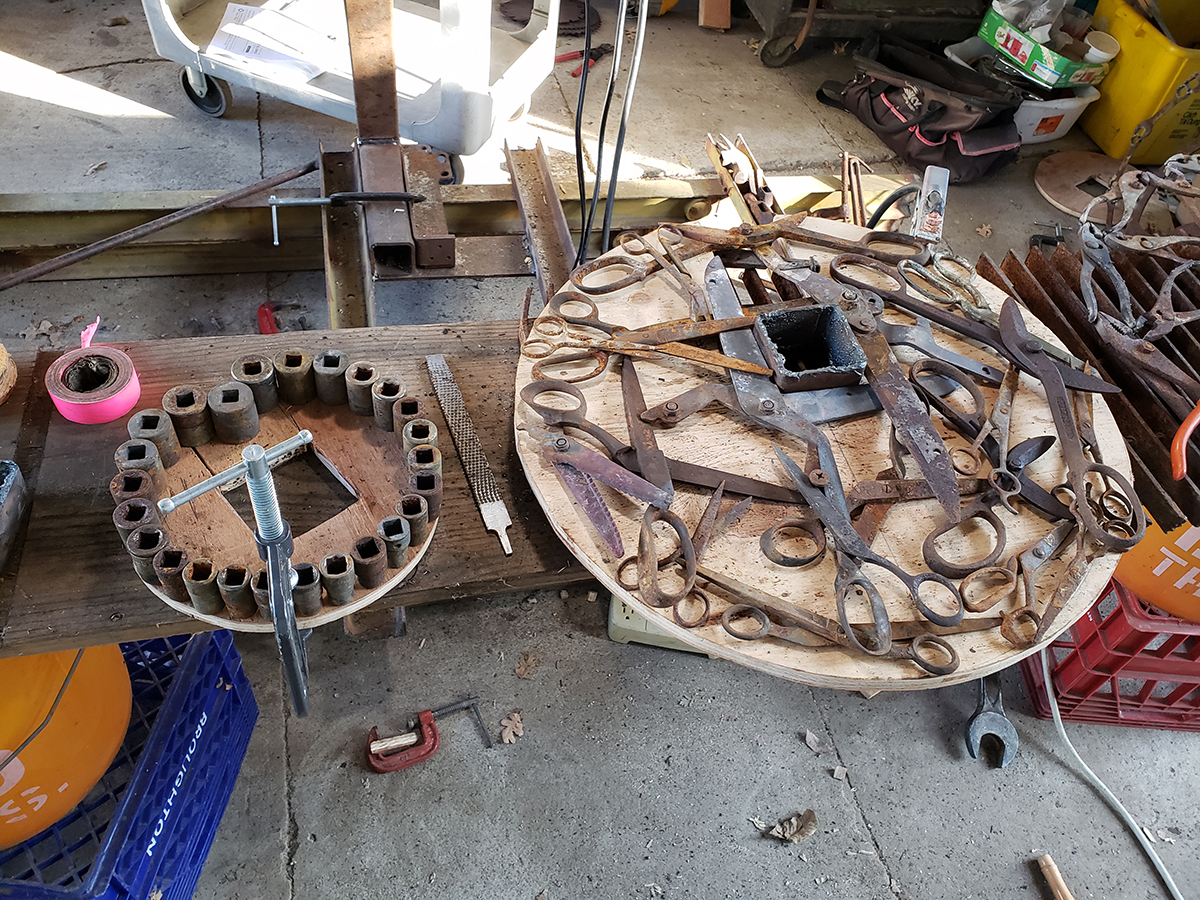
 Starting design for ring #5 [orig. huge image] |
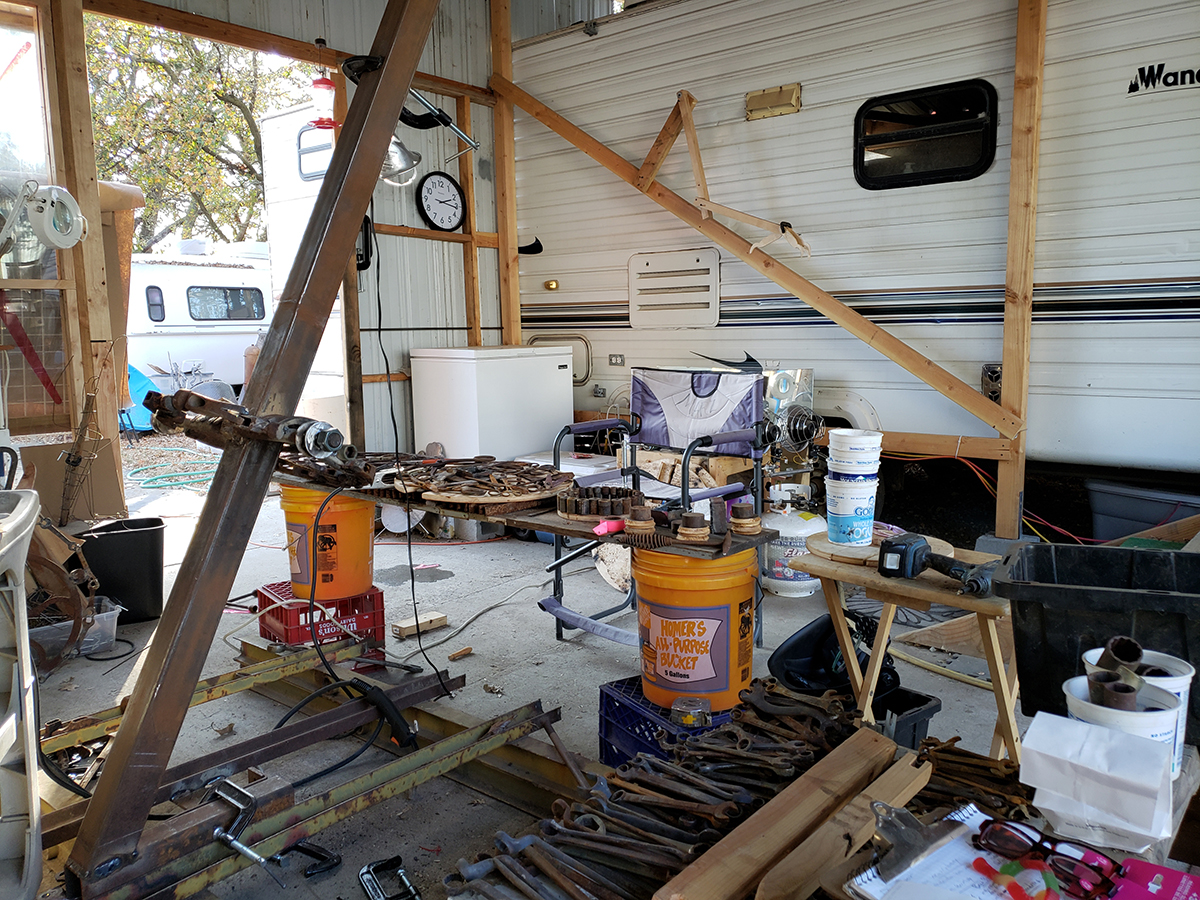
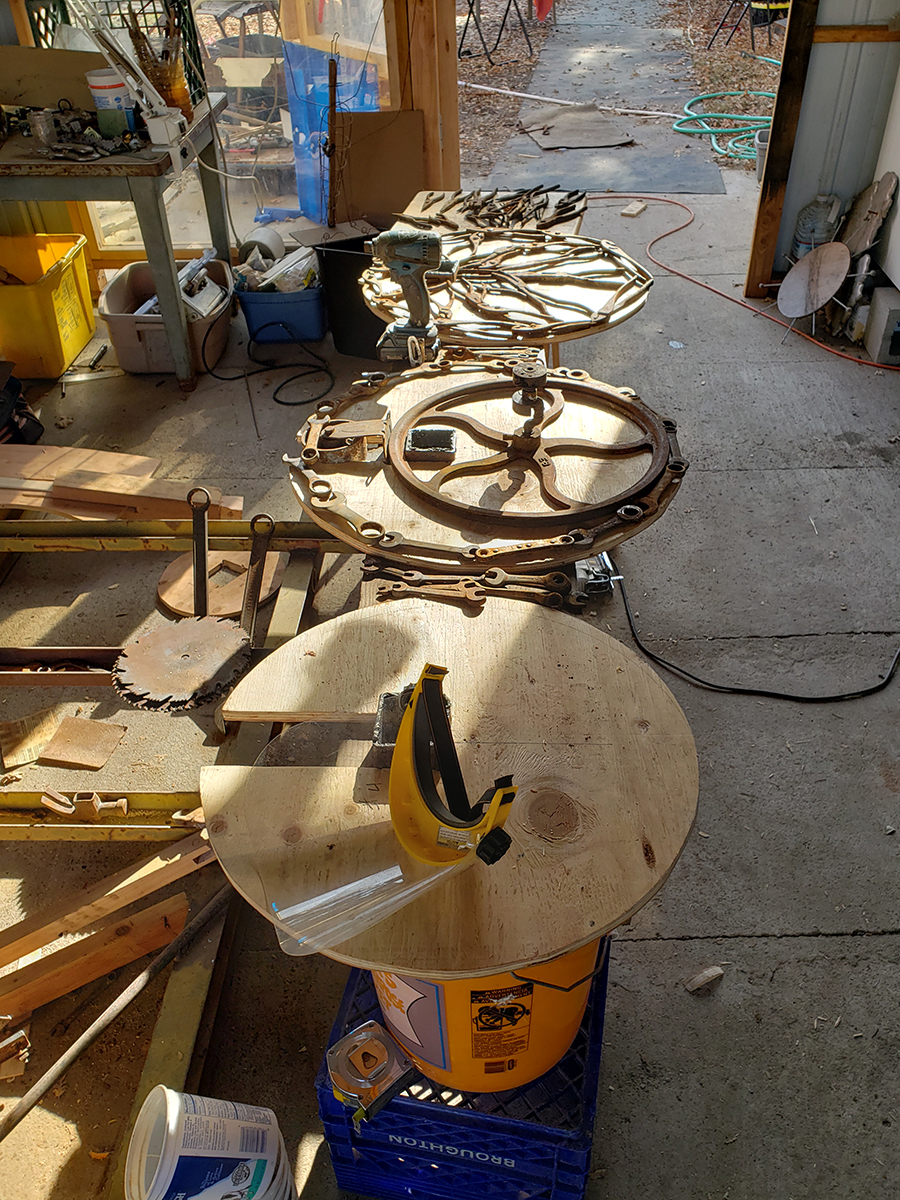 Ring making assembly line [orig. huge image] |
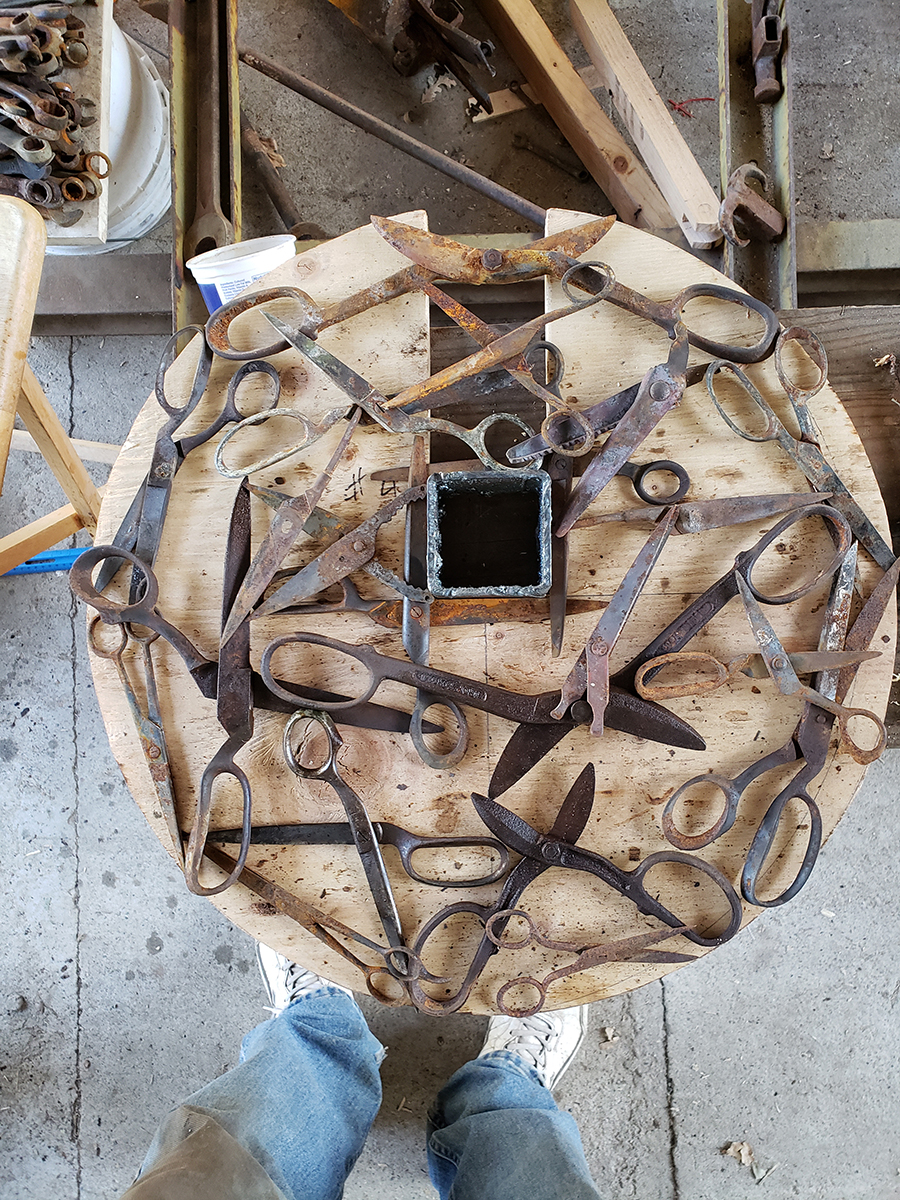
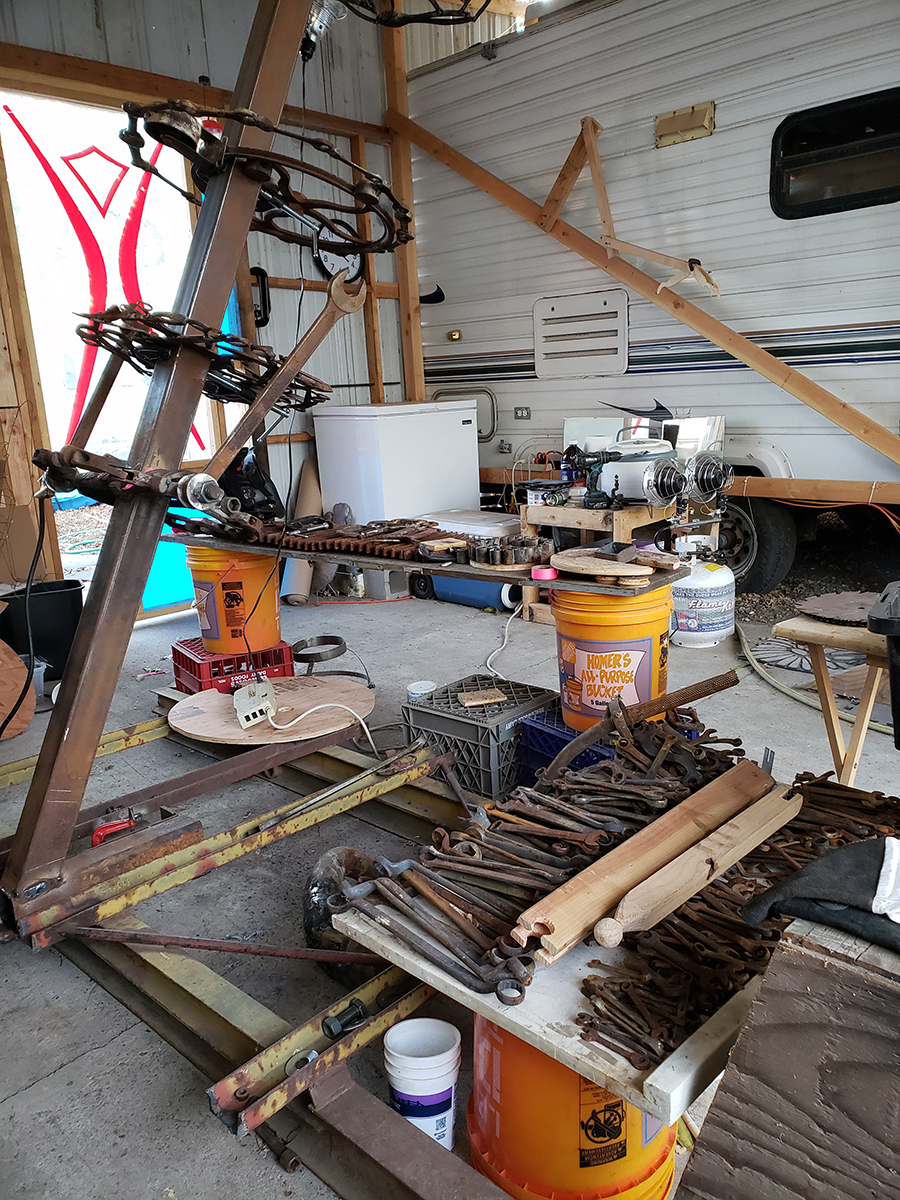
 I sorted out the piles of crescent/box wrenches on put them on my little cart so I can bring them into the studio as needed. [orig. huge image] |
 First design for ring #4. I typically leave a design around for a while so I can see it fresh several times. I ended up changing this ring because I didn't like it.` [orig. huge image] |
[orig. huge image] |
[orig. huge image] |
 Ring #3. The only one made in place on top of the wood ring. The rest were all made on their respective rings, but flat on a table where things weren't constantly sliding [orig. huge image] |
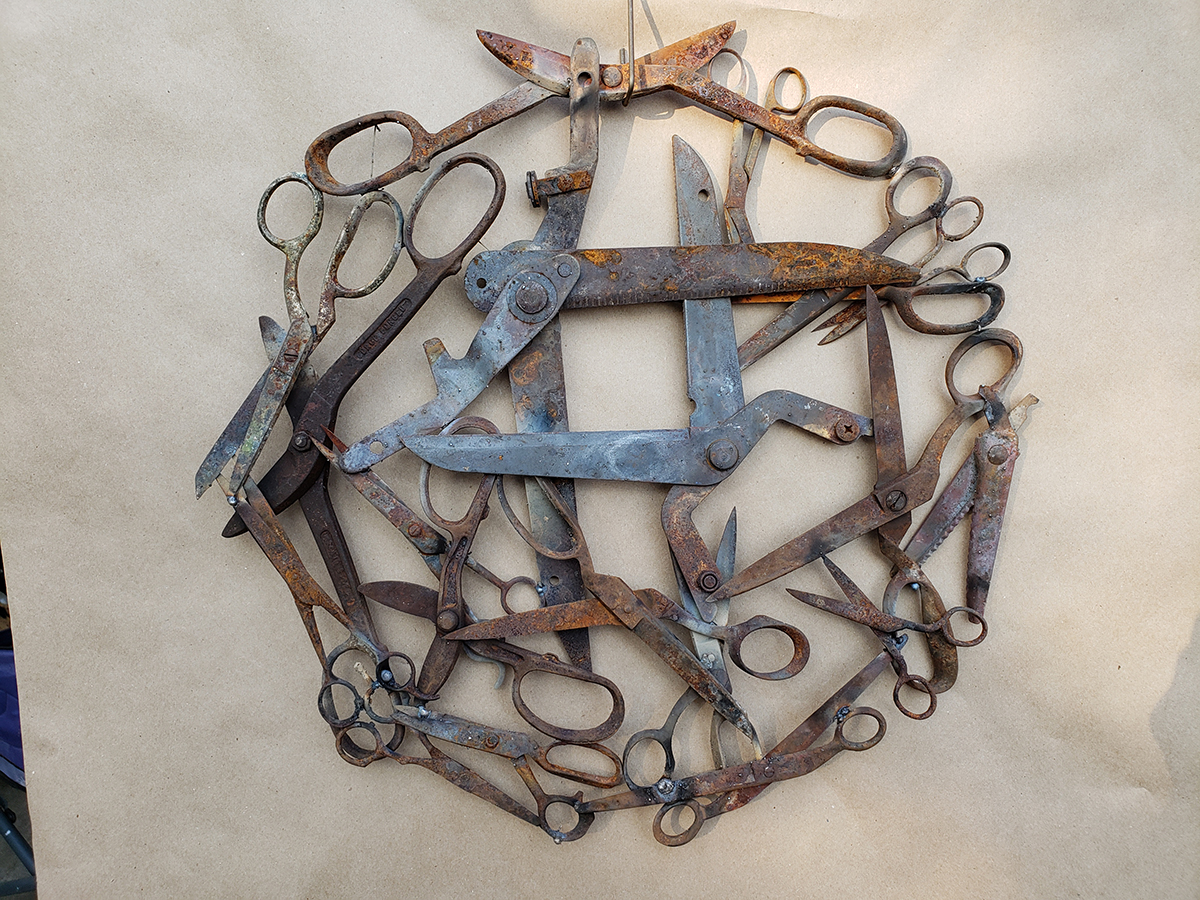
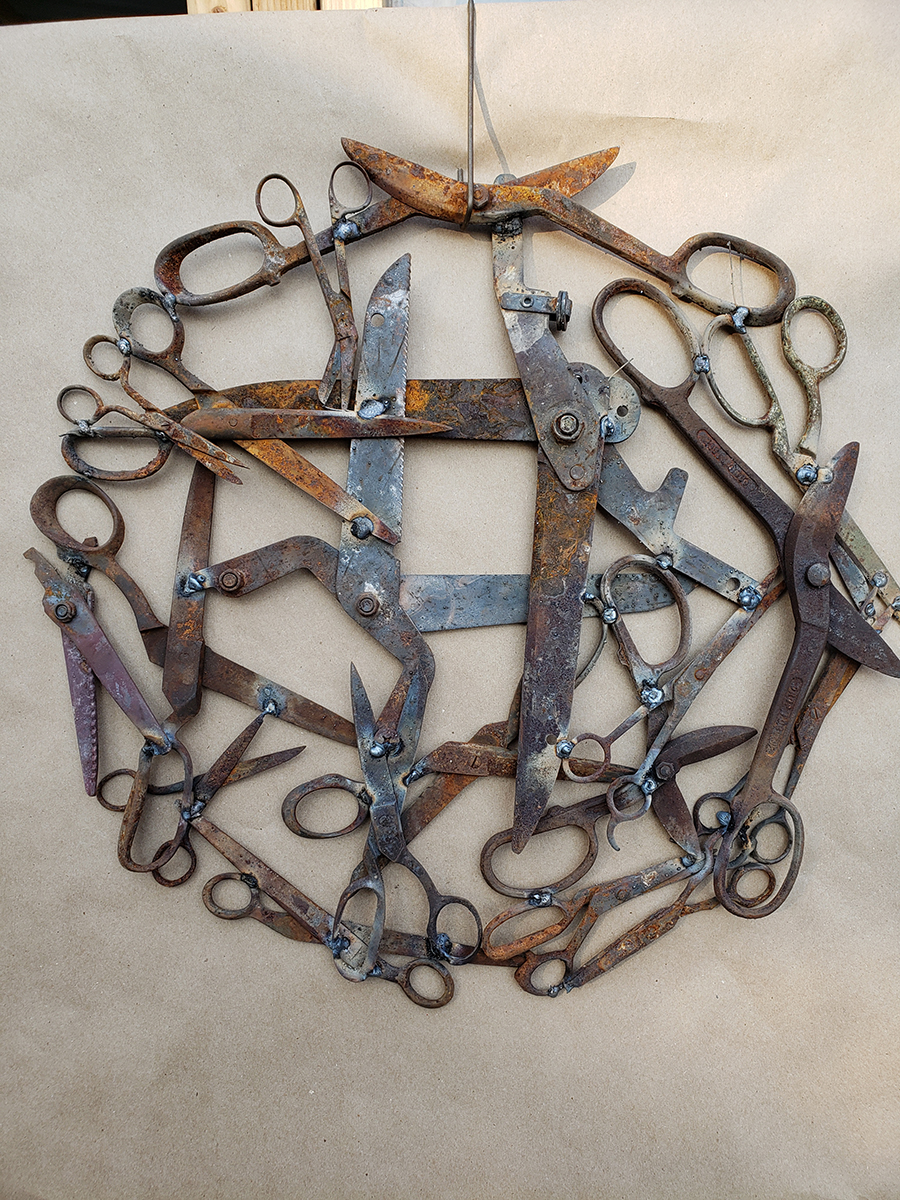
 New version of ring #4. [orig. huge image] |
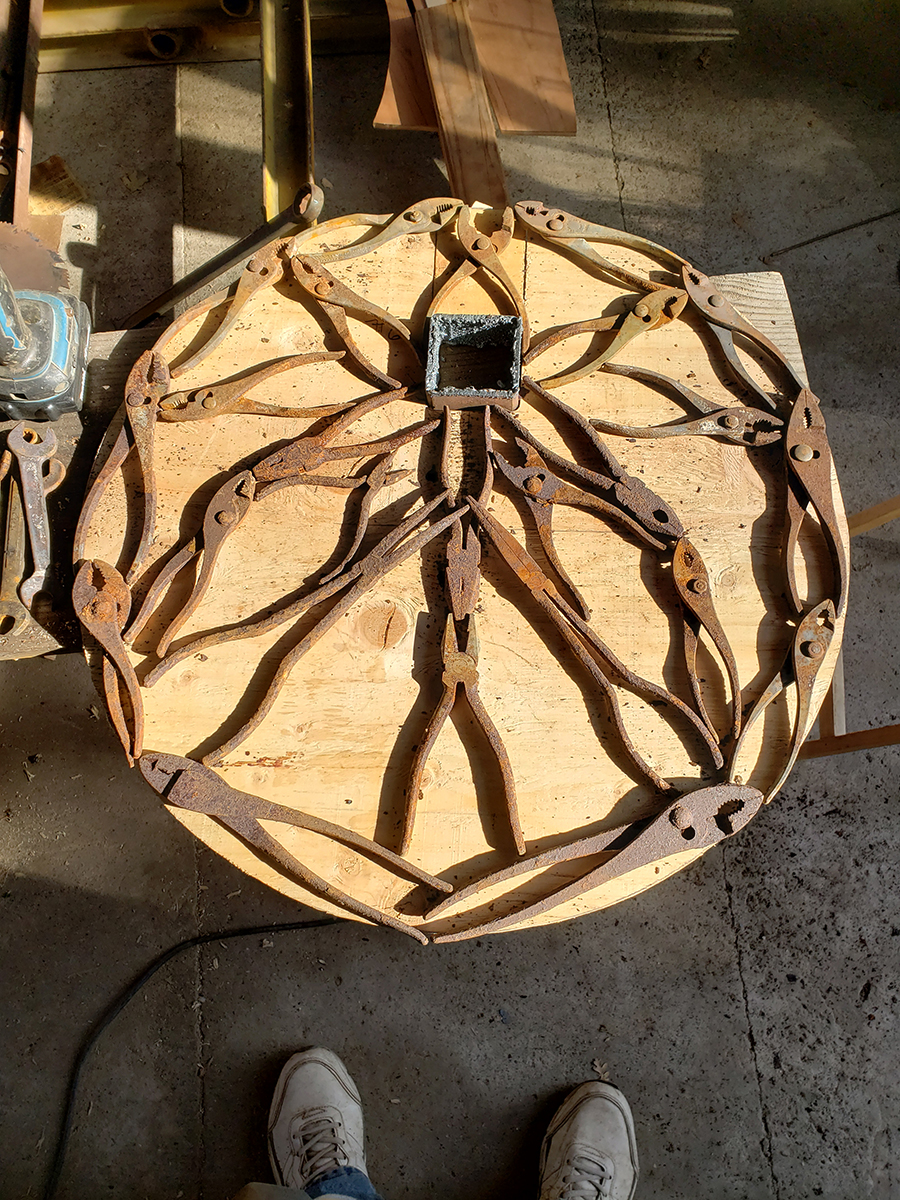
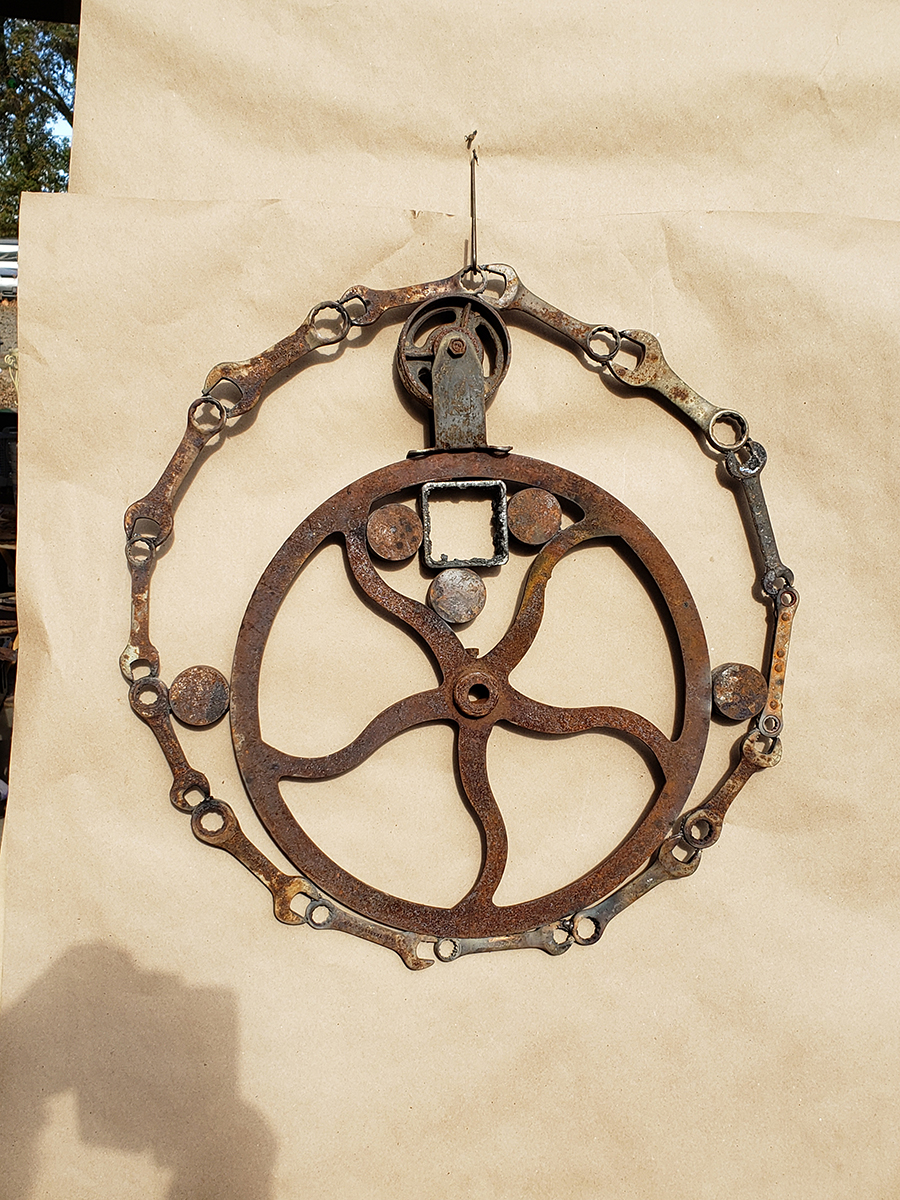
 Ring #1 [orig. huge image] |
[orig. huge image] |
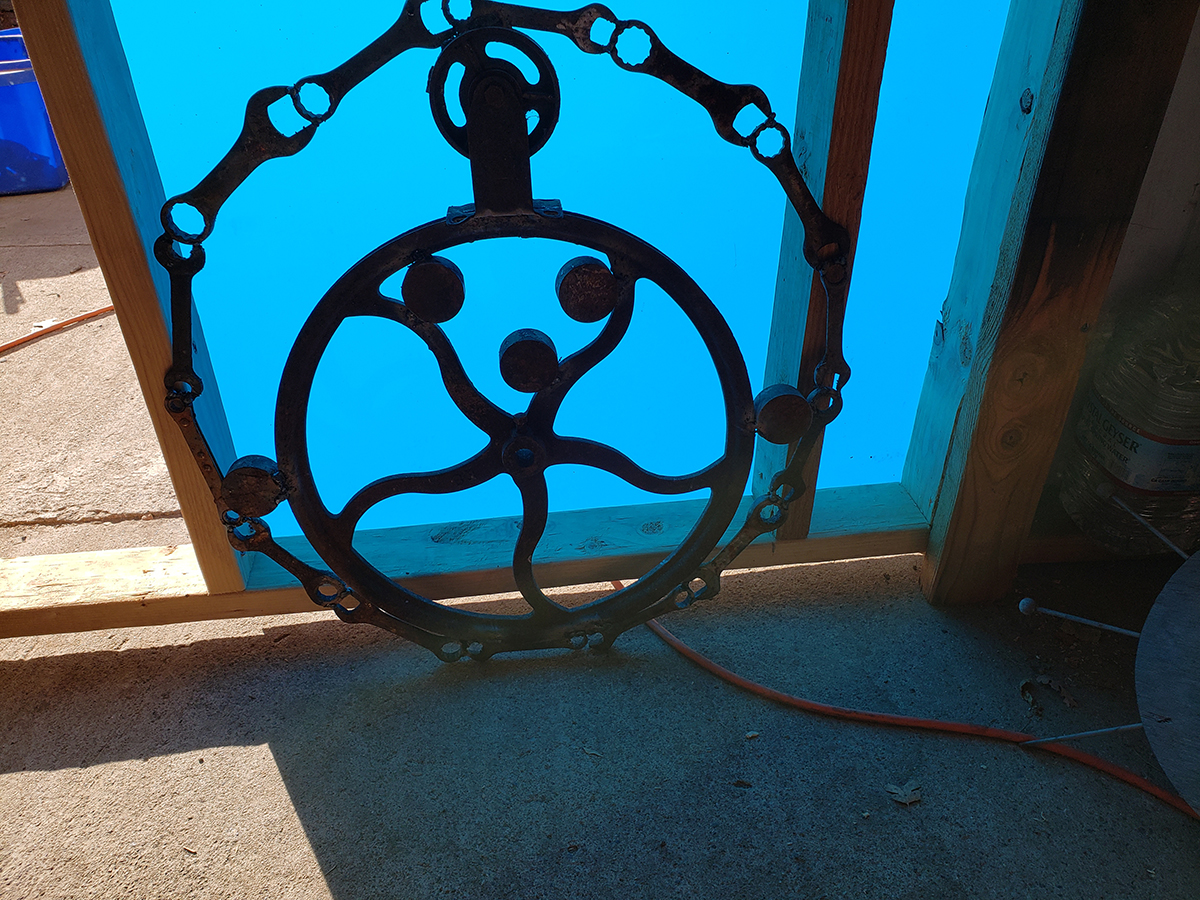
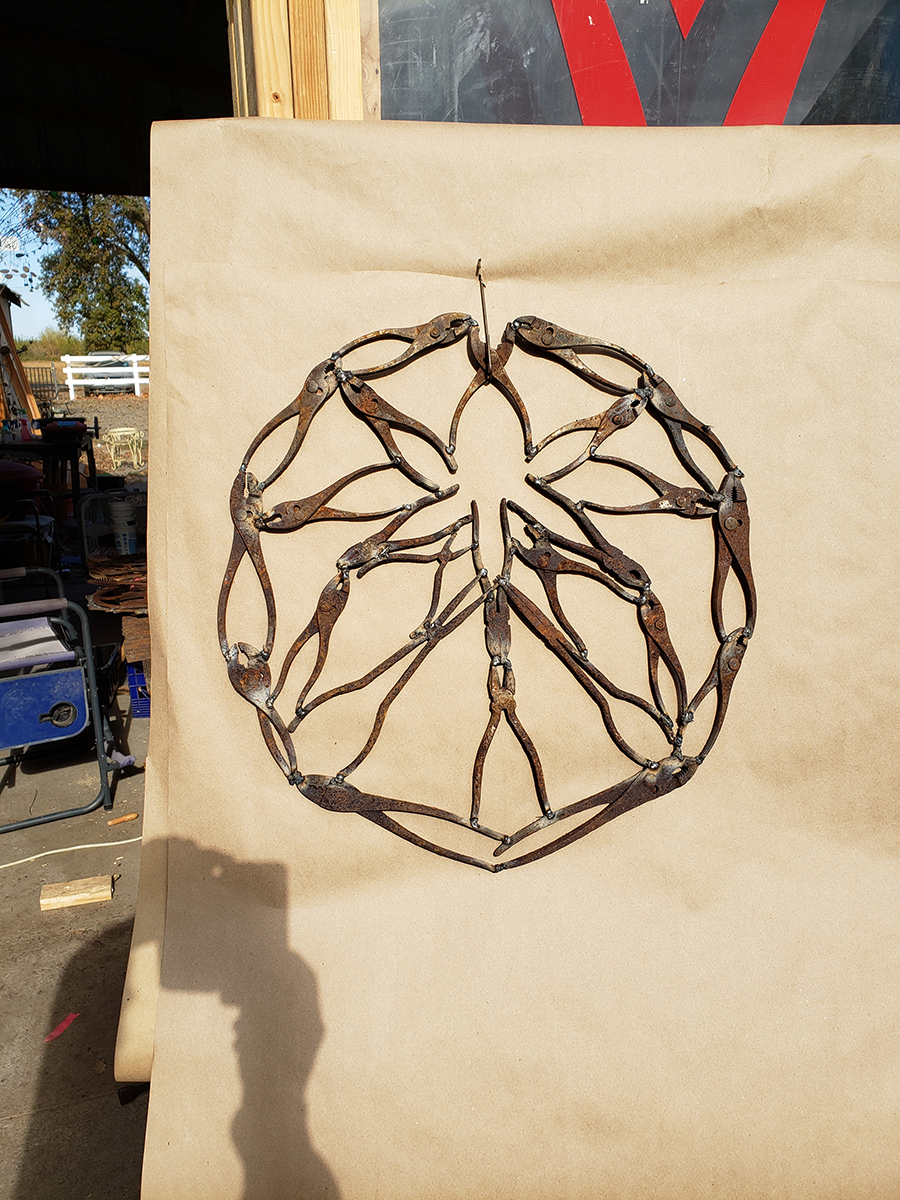
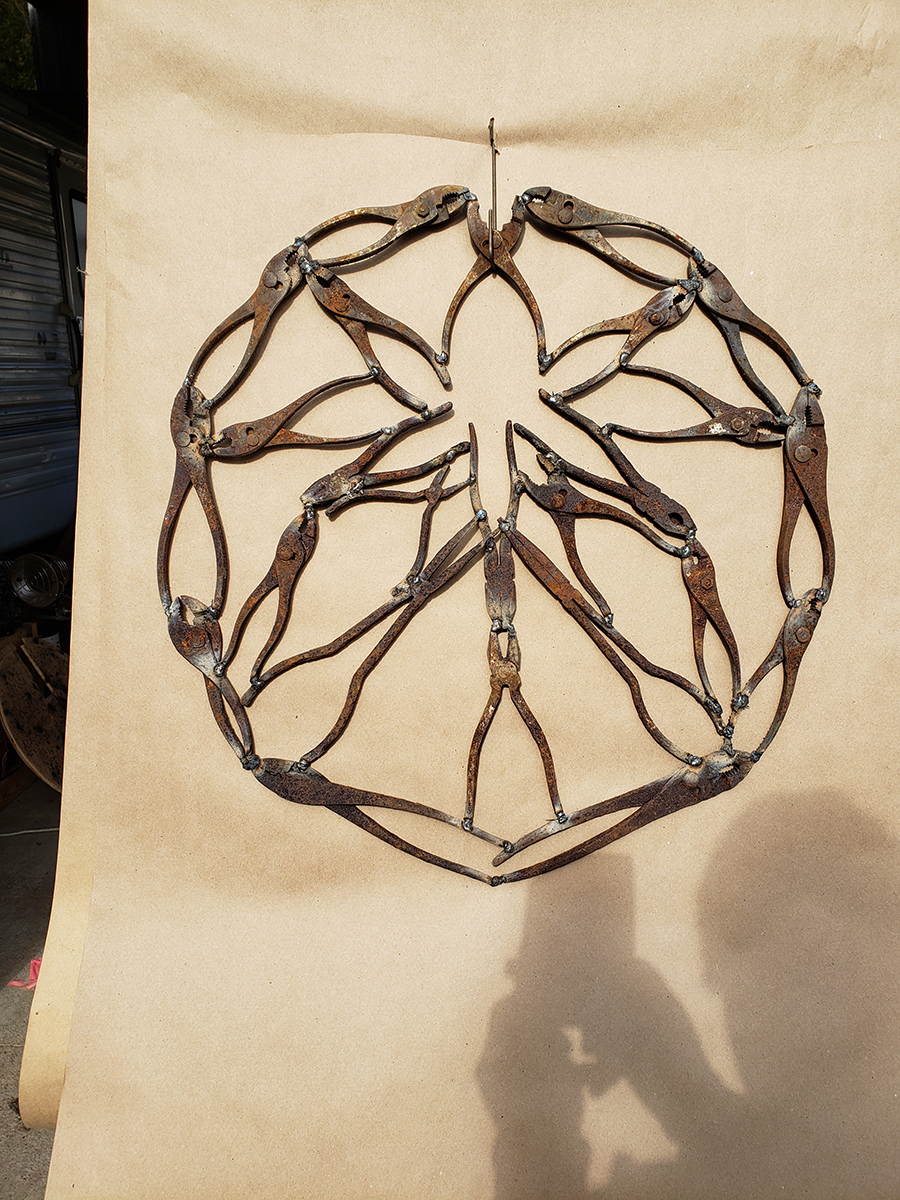 Ring #6 welded. [orig. huge image] |
[orig. huge image] |
[orig. huge image] |
[orig. huge image] |
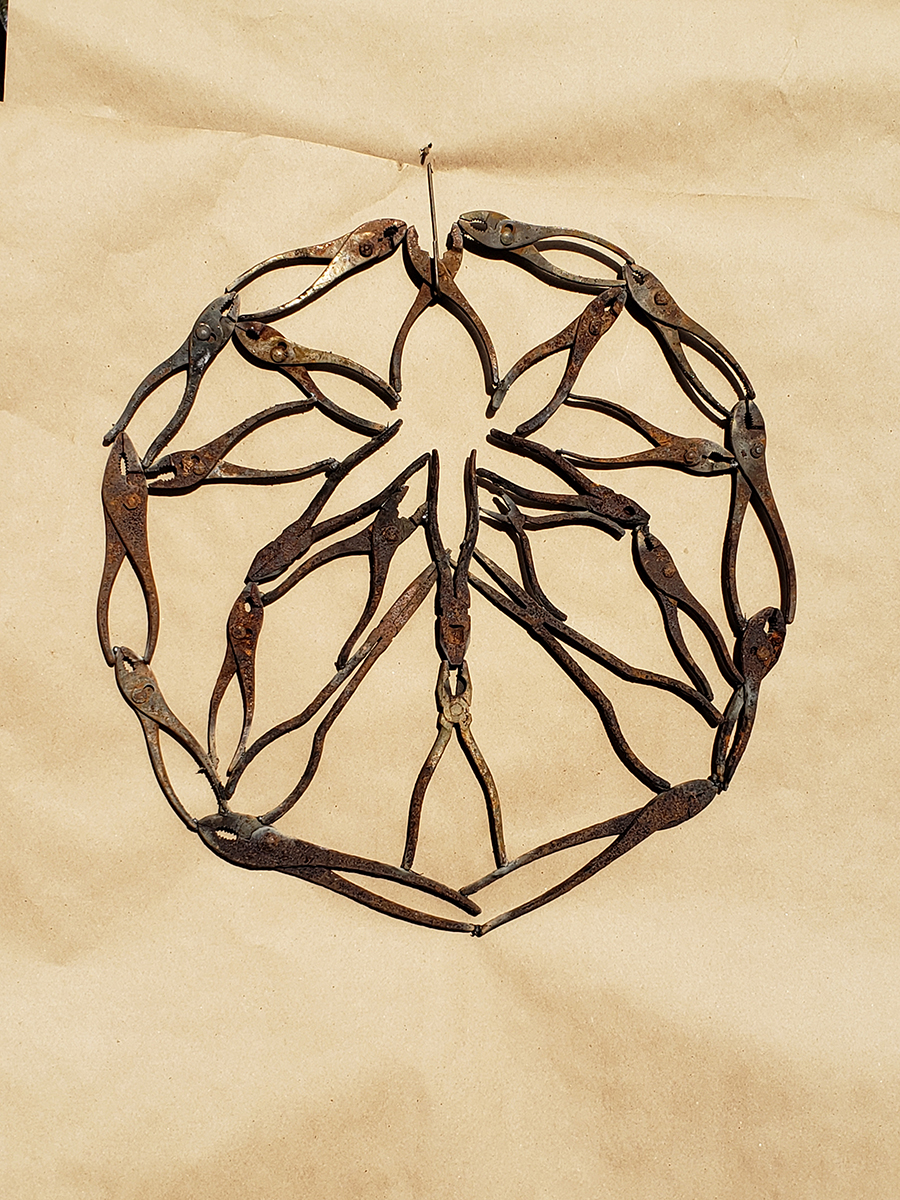
 Ring #5 welded. [orig. huge image] |
[orig. huge image] |
[orig. huge image] |
[orig. huge image] |
[orig. huge image] |
[orig. huge image] |
[orig. huge image] |
 Ring #4 welded. [orig. huge image] |
[orig. huge image] |
[orig. huge image] |
[orig. huge image] |
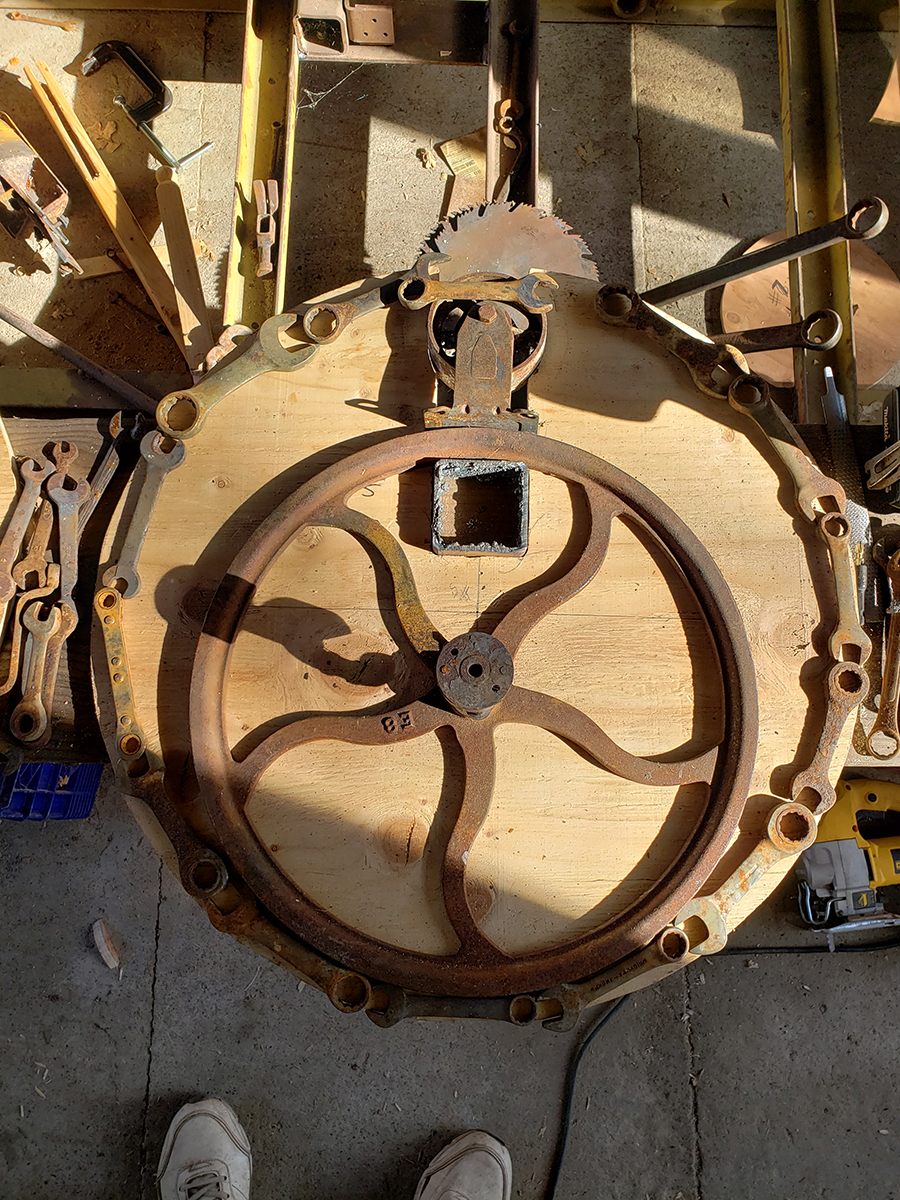
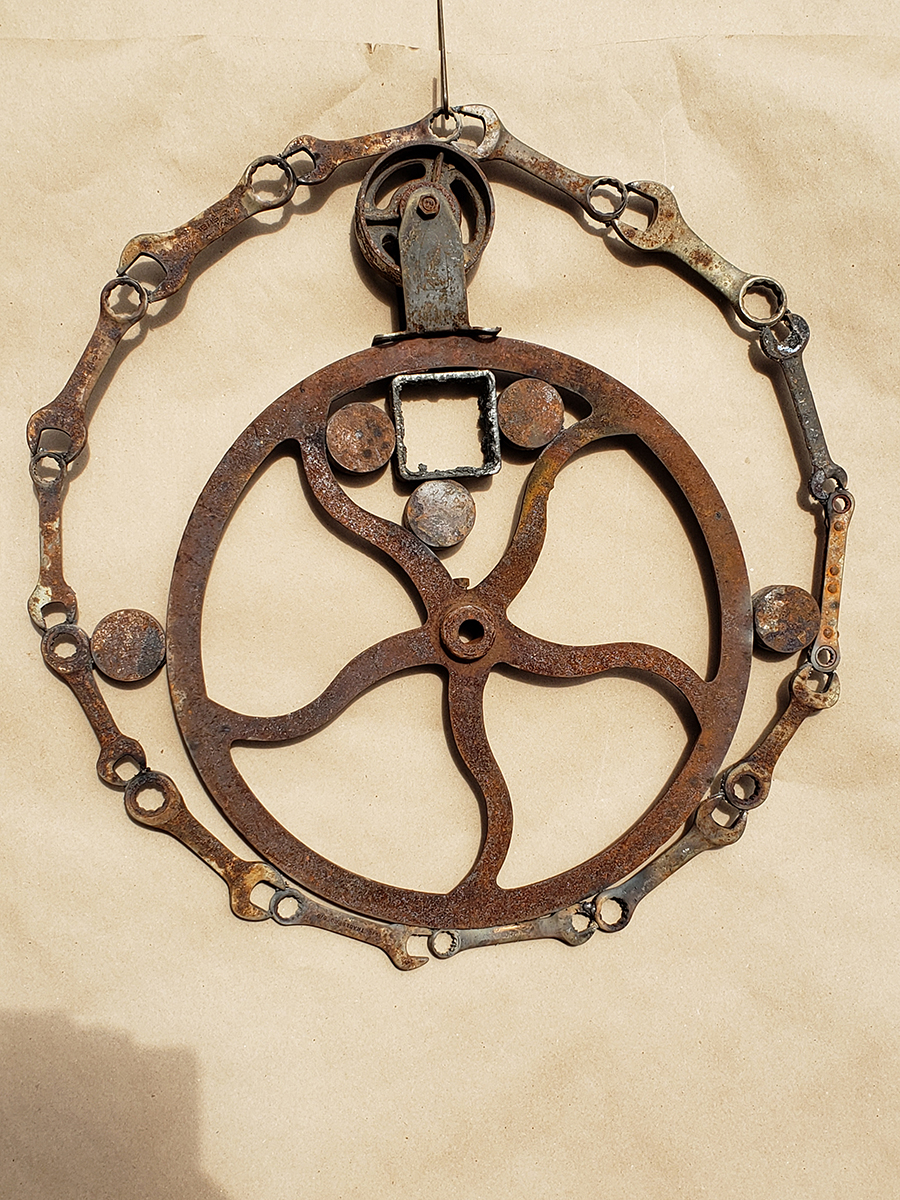
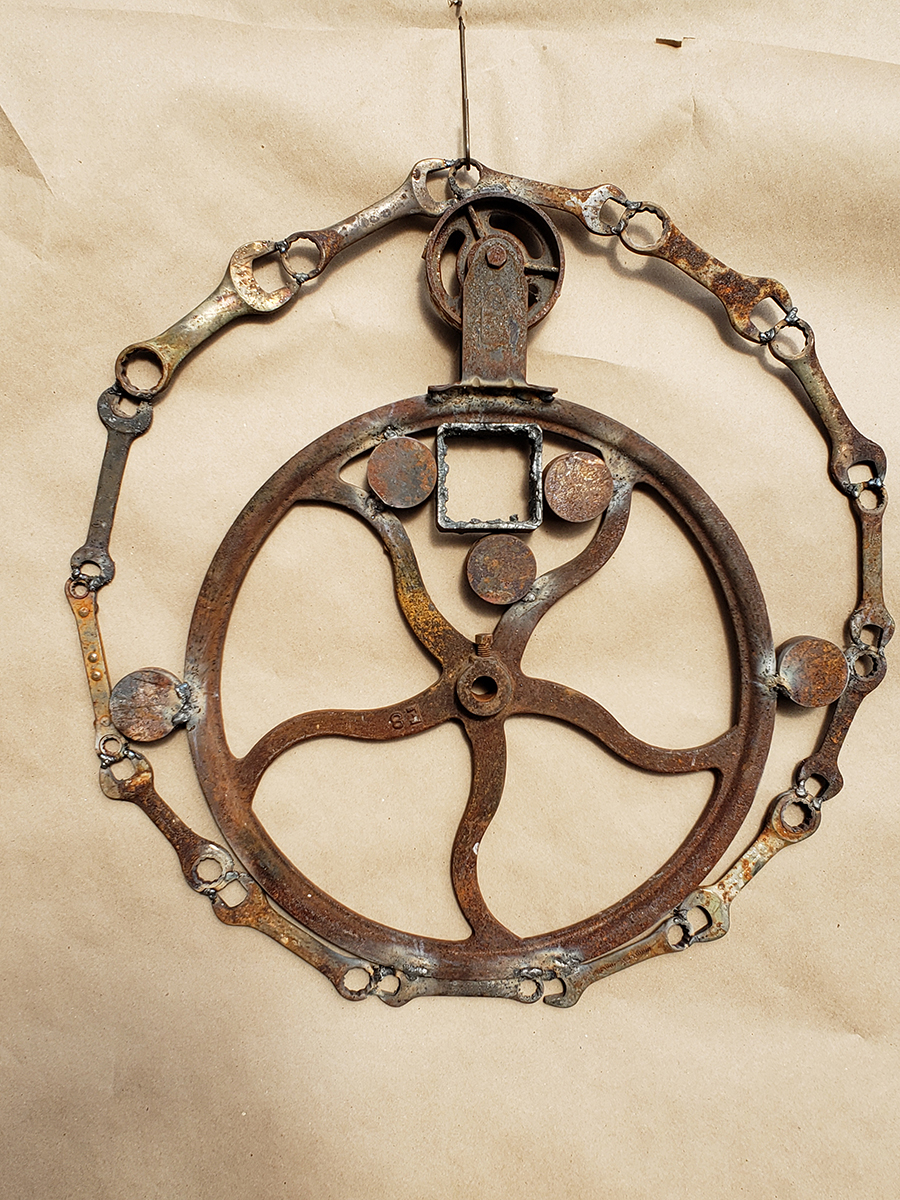
 Ring #2 welded. [orig. huge image] |
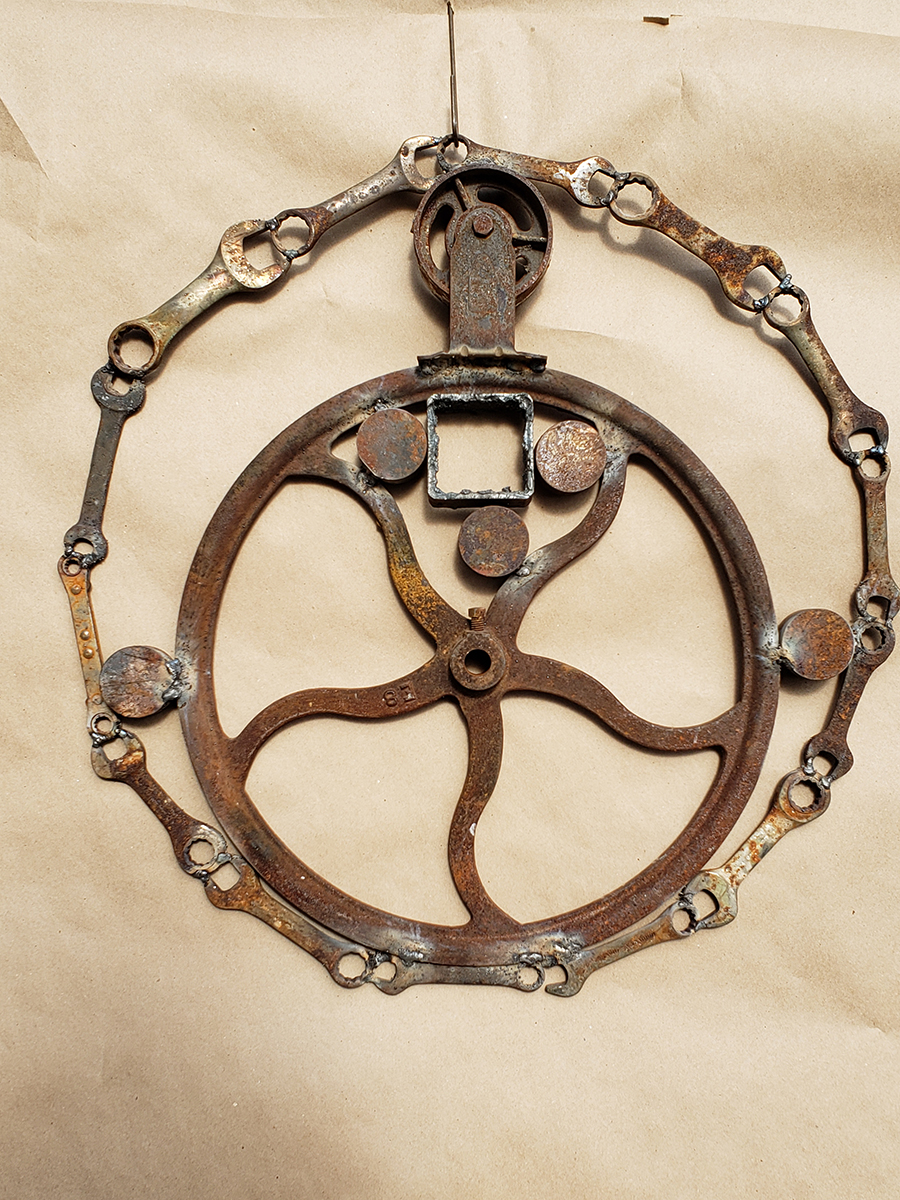
 The opening is needed because rings 1 & 2 can't be slid down the supporting post because #3 is already completed blocking their paths. [orig. huge image] |
![[orig. huge image]](Images/huge/20190321_131540.jpg)
![[orig. huge image]](Images/huge/20190321_131542.jpg)
![[orig. huge image]](Images/huge/20190620_210723.jpg)
![[orig. huge image]](Images/huge/20191019_181413.jpg)
![[orig. huge image]](Images/huge/20191019_181425.jpg)
![[orig. huge image]](Images/huge/20191019_181441.jpg)
![[orig. huge image]](Images/huge/20191021_142759.jpg)
![[orig. huge image]](Images/huge/20191115_124416.jpg)
![[orig. huge image]](Images/huge/20191115_124417.jpg)
![[orig. huge image]](Images/huge/20191115_124423.jpg)
![[orig. huge image]](Images/huge/20191115_141420.jpg)
![[orig. huge image]](Images/huge/20191118_130527.jpg)
![[orig. huge image]](Images/huge/20191118_130541.jpg)
![[orig. huge image]](Images/huge/20191118_130603.jpg)
![[orig. huge image]](Images/huge/20191118_130608.jpg)
![[orig. huge image]](Images/huge/20191118_142453.jpg)
![[orig. huge image]](Images/huge/20191119_101846.jpg)
![[orig. huge image]](Images/huge/20191119_101933.jpg)
![[orig. huge image]](Images/huge/20191119_101948.jpg)
![[orig. huge image]](Images/huge/20191119_101958.jpg)
![[orig. huge image]](Images/huge/20191119_102010.jpg)
![[orig. huge image]](Images/huge/20191119_102015.jpg)
![[orig. huge image]](Images/huge/20191119_121943.jpg)
![[orig. huge image]](Images/huge/20191119_122023.jpg)
![[orig. huge image]](Images/huge/20191119_122108.jpg)
![[orig. huge image]](Images/huge/20191119_122121.jpg)
![[orig. huge image]](Images/huge/20191119_122229.jpg)
![[orig. huge image]](Images/huge/20191119_122247.jpg)
![[orig. huge image]](Images/huge/20191119_122348.jpg)
![[orig. huge image]](Images/huge/20191119_122352.jpg)
![[orig. huge image]](Images/huge/20191119_141734.jpg)
![[orig. huge image]](Images/huge/20191119_141744.jpg)
![[orig. huge image]](Images/huge/20191119_141824.jpg)
![[orig. huge image]](Images/huge/20191119_150100.jpg)
![[orig. huge image]](Images/huge/20191119_150130.jpg)
![[orig. huge image]](Images/huge/20191119_150133.jpg)
![[orig. huge image]](Images/huge/20191120_160733.jpg)
![[orig. huge image]](Images/huge/20191120_161049.jpg)
![[orig. huge image]](Images/huge/20191120_161108.jpg)