Burningman 2020:

the Multiverse: CANCELLED due to Covid-19

Building a Phoenix

The phoenix bird is a mythical bird from Greek mythology. ... The classical, mythical imagery and symbolism of resurrection, of life reborn anew and transformed, resonated with the Christian story. The phrase rise like a phoenix from the ashes is often shortened to rise like a phoenix, or even rise from the ashes.
- Wikipedia

Arising Phoenix

Building a Phoenix

Home
Overview Pages:
the Plan part 1: Making Plans | the Plan part 2: Cross Sections | the Plan part 3: Longitudinals | the Plan part 4: Wings, Tail & Legs | the Plan part 5: Base

wizzard's chronological Photos:
Picking up in Paradise 1 | Picking up in Paradise 2 | Treasures in Campbell
Building Starts | Building 2 | Building 3 | Building 4 | Building 5 | Building 6 | xxx | xxx | xxx

Gwen's chronological Photos:
Paradise 1 | Paradise 2 | Paradise 3 | Build 1 | Build 2 | Build 3 | Build 4 | Build 5 | Build 6 | xxx

the Plan part 3: Longitudinals

.

summary from previous page

    The cross section ring/disks/sections
  1. Sockets
  2. C-Clamps
  3. Hammers
  4. Motion (wheels/crescent wrenches)
  5. Scissors
  6. Pliers
  7. Socket Wrenches
  8. Crescent Adjustable Wrenches


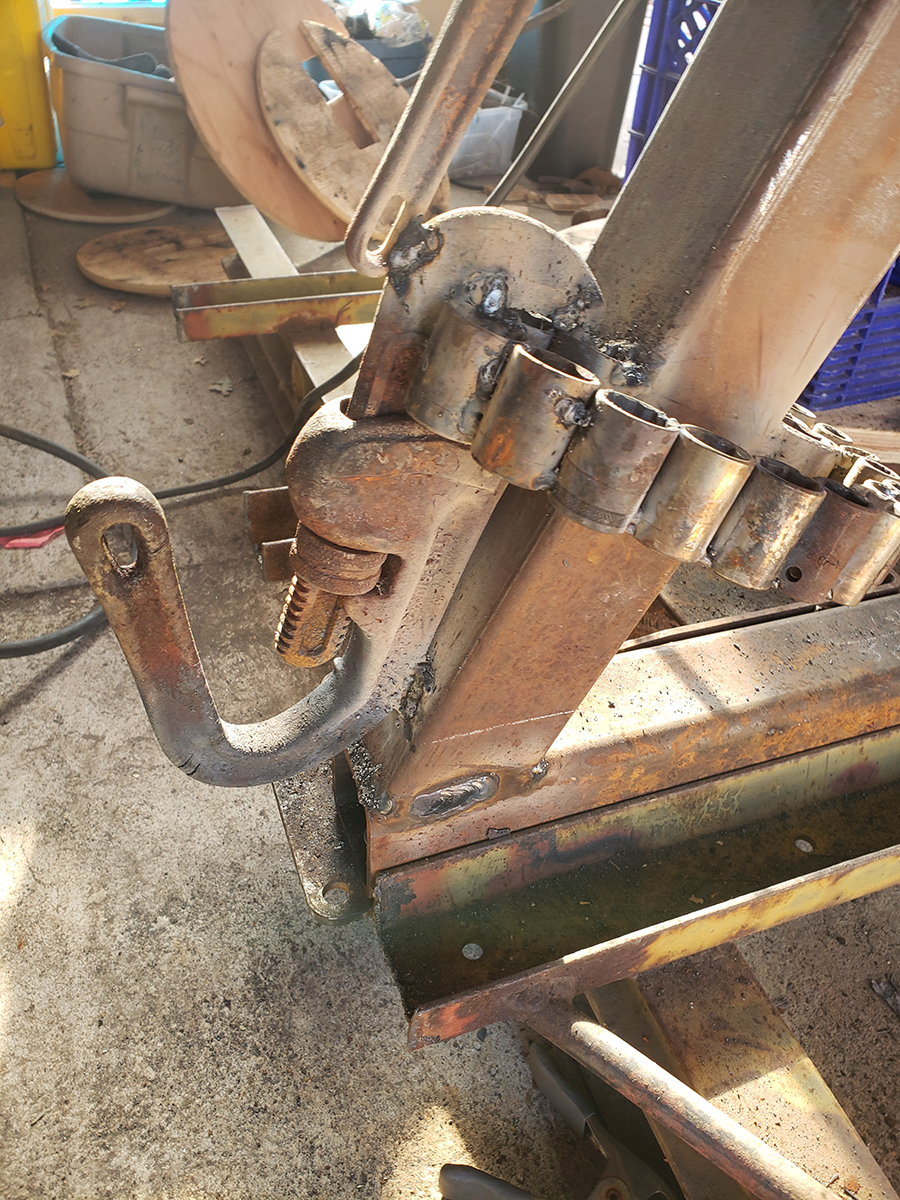
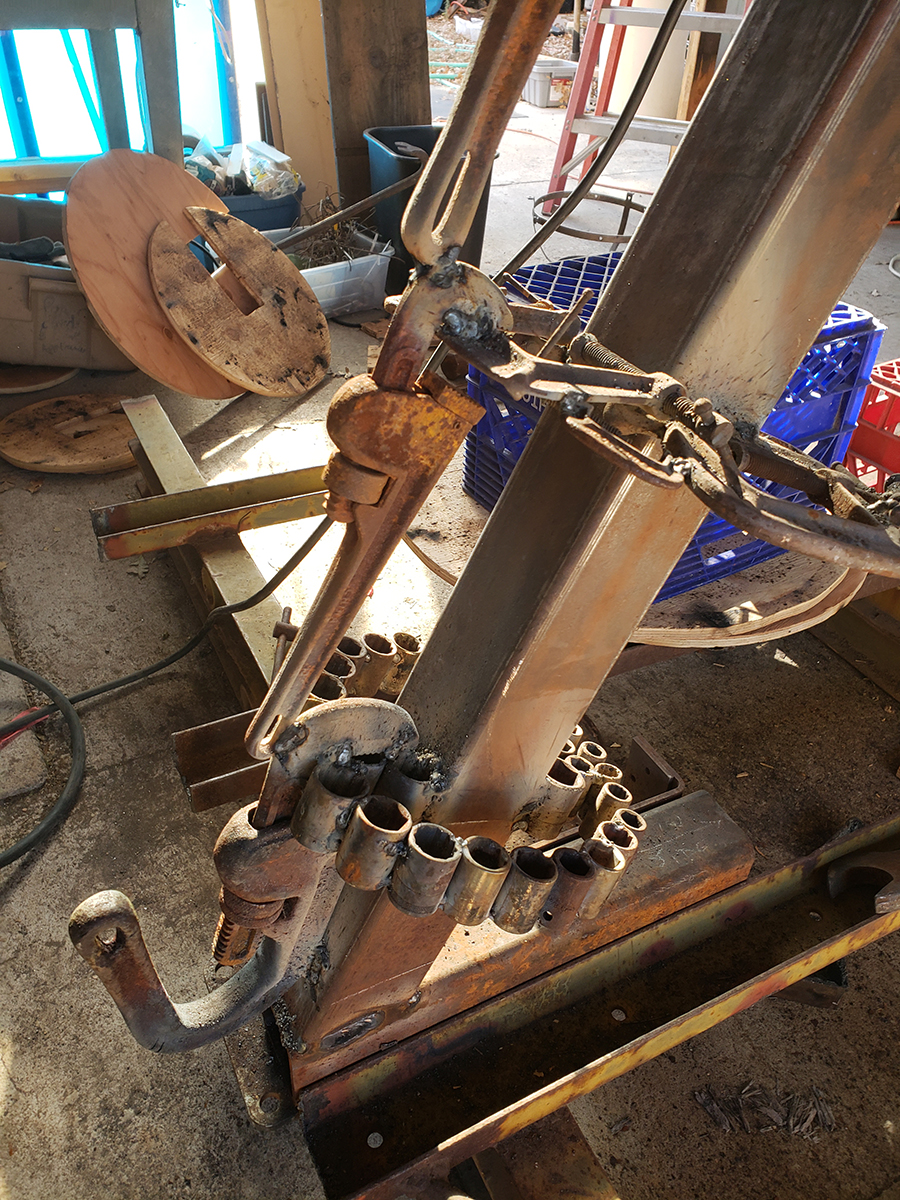
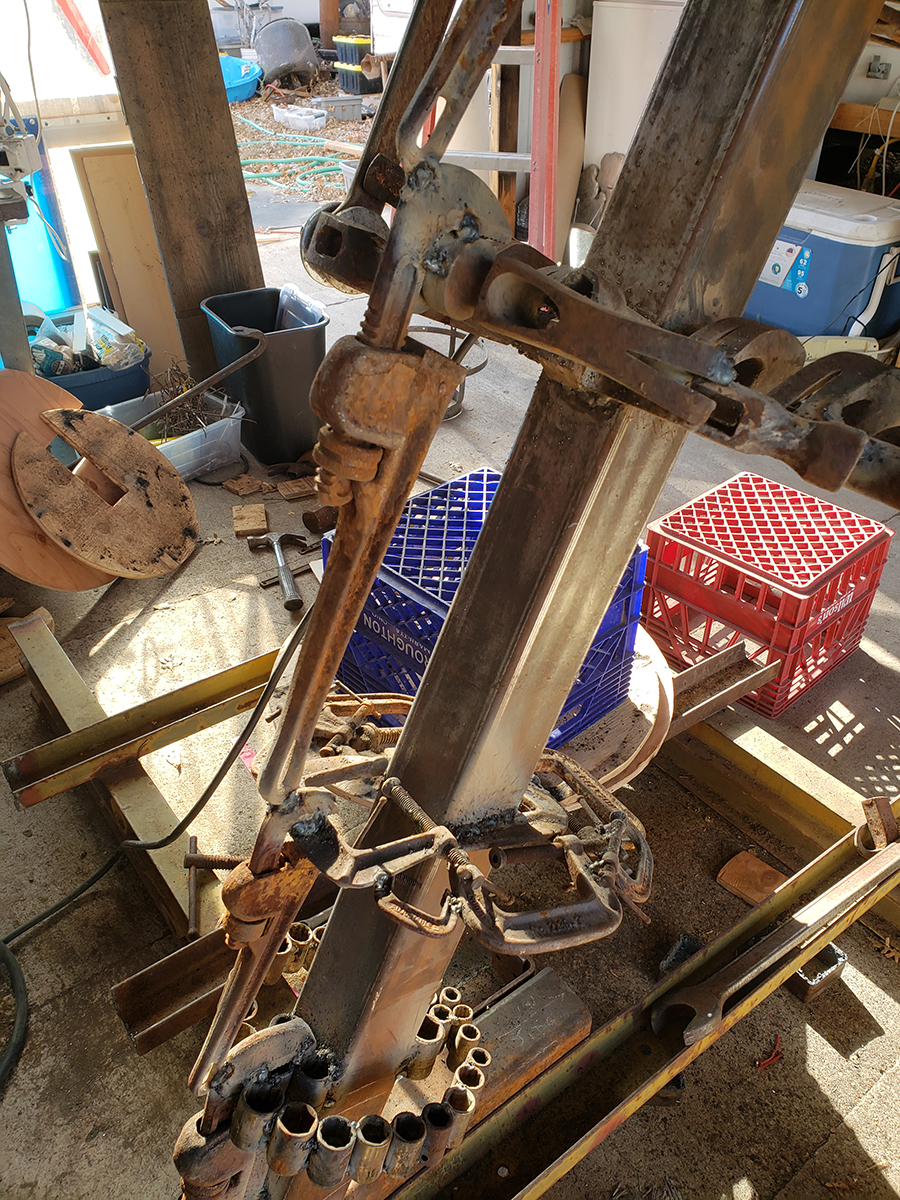
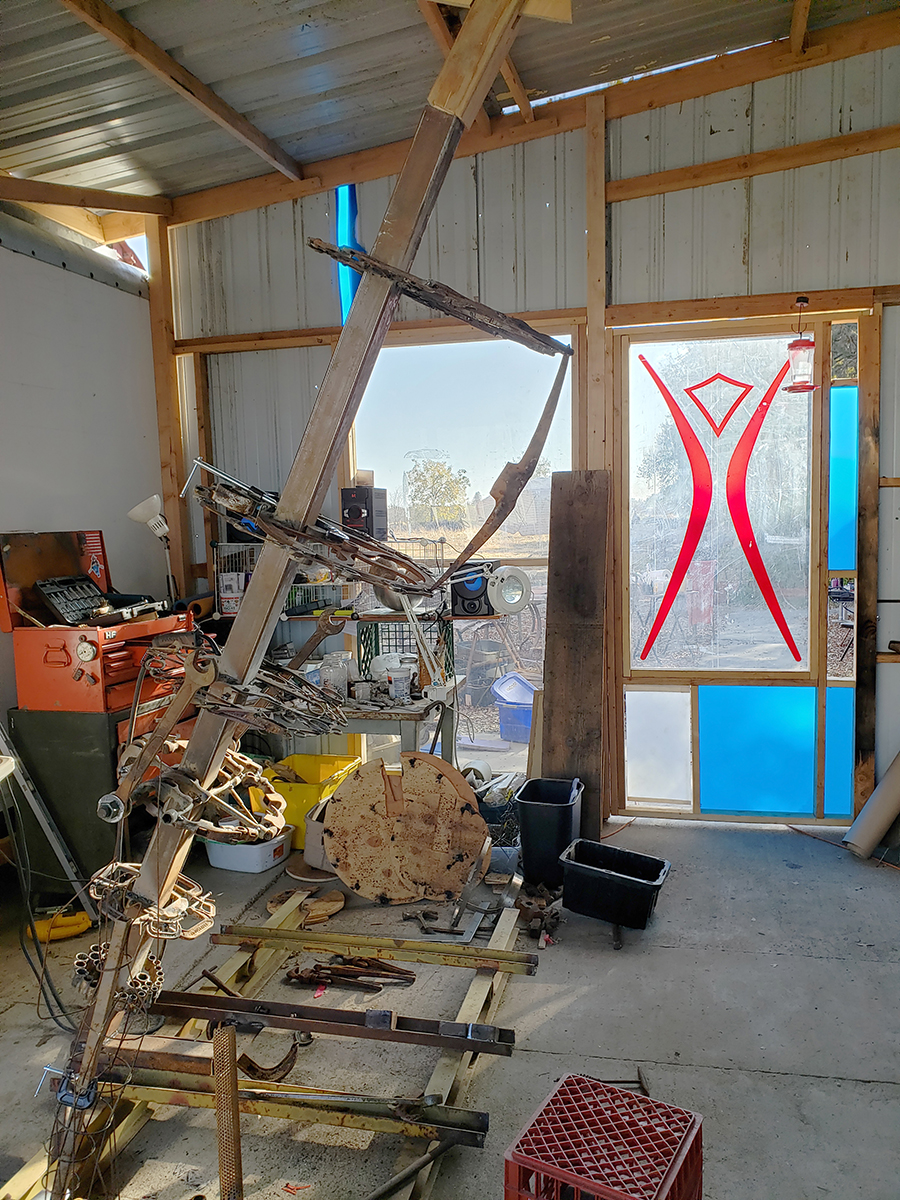
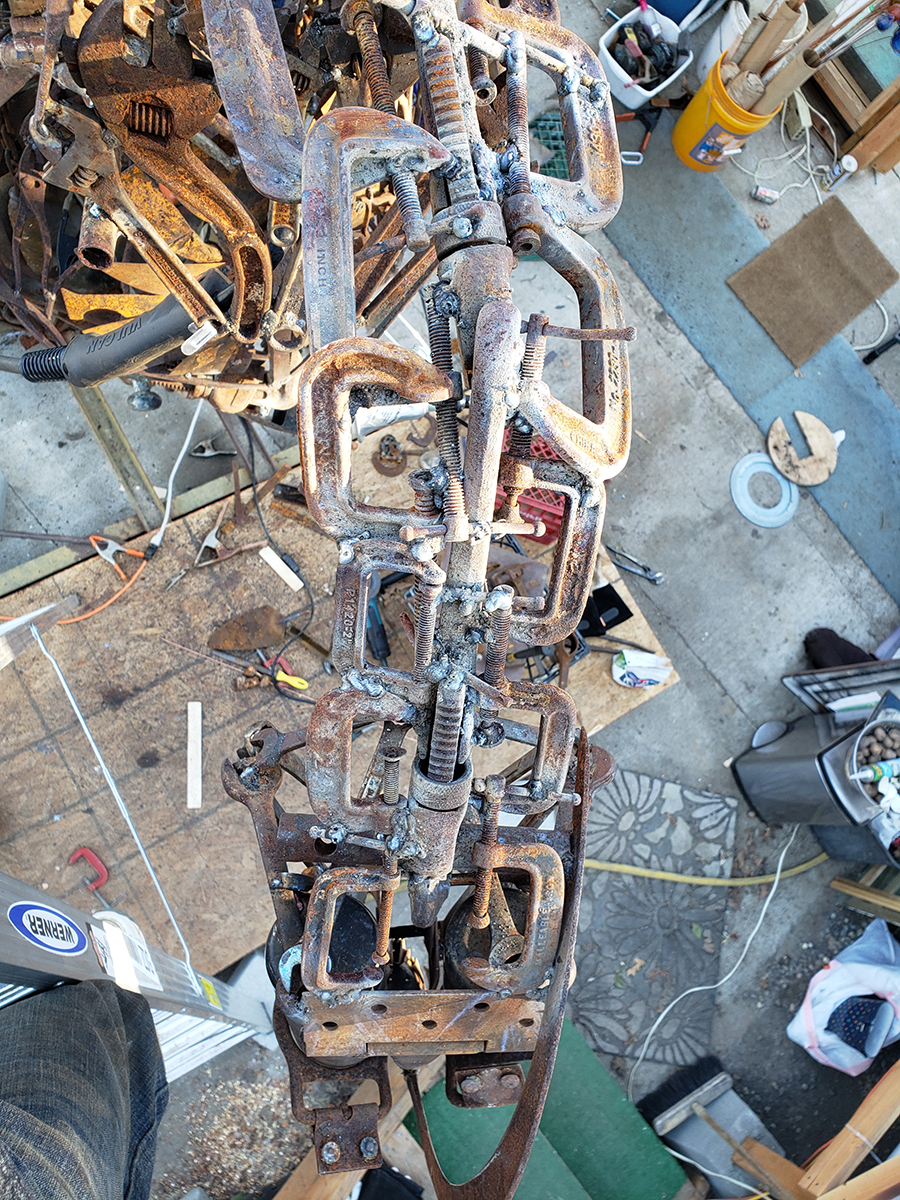
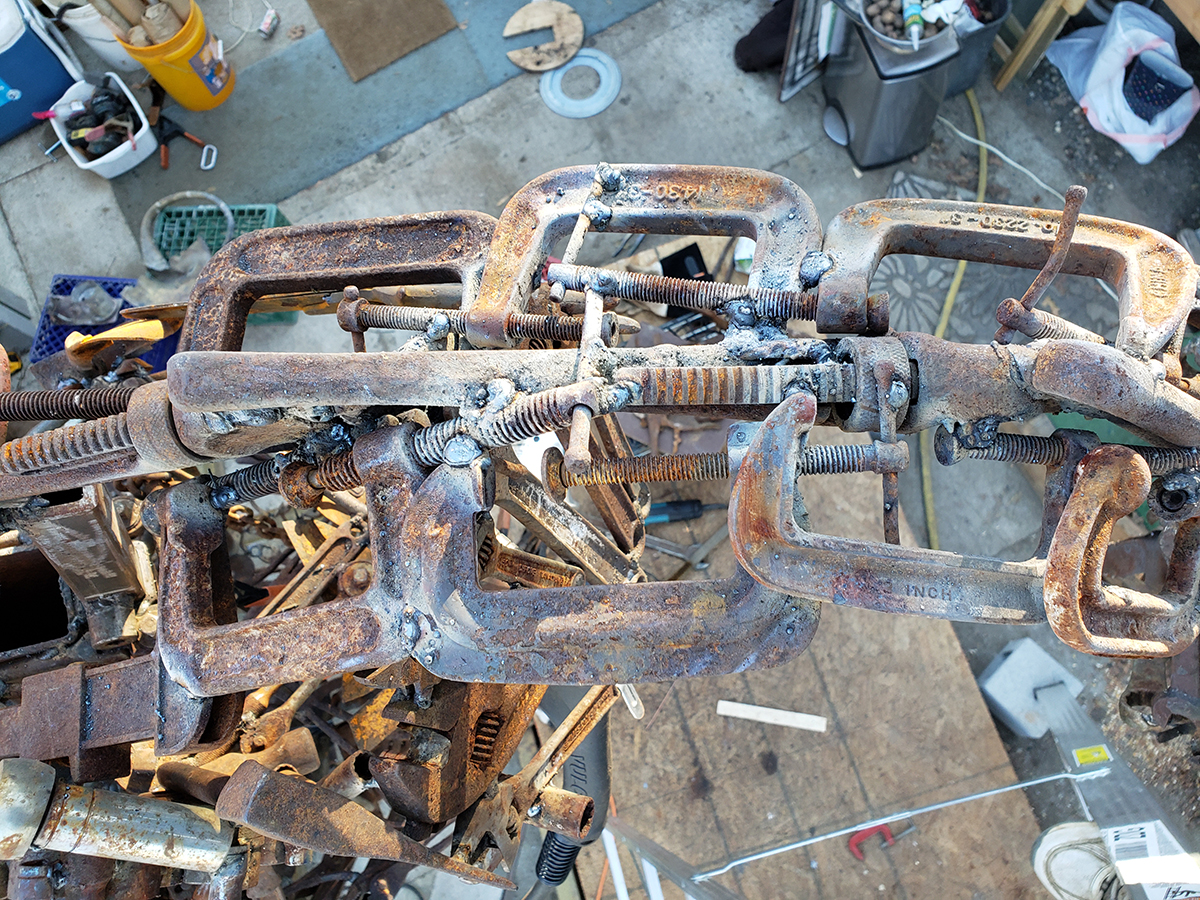
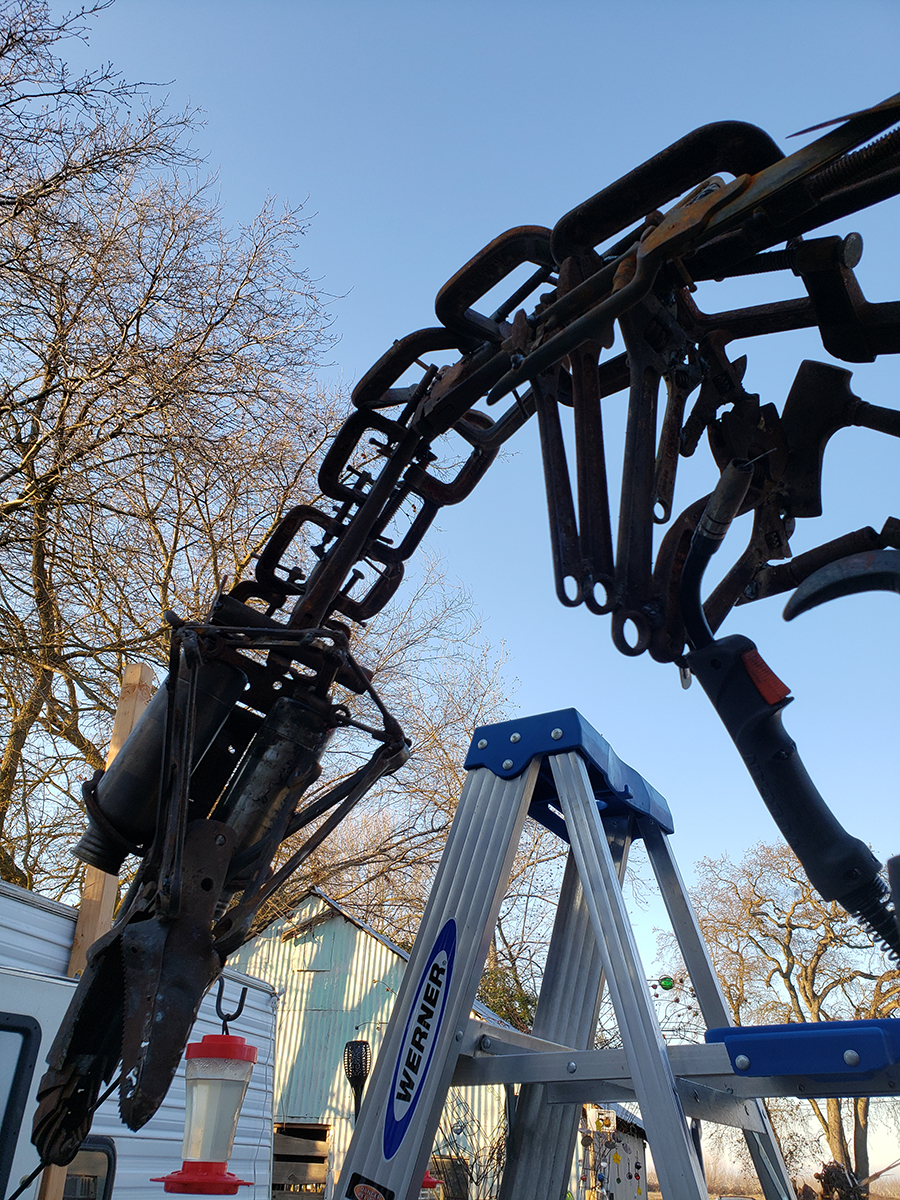
Work shifts to welding Longitudinal sections

The longitudinals are the strips of tools that run the full length of the body in this case, over the cross sectional rings that tie the structure together giving strength and will be the most obvious surface to the body of the Phoenix.

The first couple longitudinals started to be put in place right from the start to stabilize the rings. Along the back I used Pipe Wrenches to form the spine. Along the front side of the bird I decided to use a pickaxe at the chest to get the right breast shape and it turned into the type of tool I used from tail to head.

Click on any image to view larger.

To form the spine, I decided to use Pipe Wrenches. I found a lot of them - who doesn't have a matched set or two in their tool collection? - and they would add a lot of strength to the back.

[orig. huge image]
2019/11/22

Since the tail of the bird was going to bend back up where it hits the ground, I started the spine with a wrench that we forged into a "U" shape to connect to when I finally get around to designing the tail.

[orig. huge image]

Each pipe wrench has its tail end resting on the previous wrench all the way up to the head.

[orig. huge image]

This pick head fit so perfectly and gave the outthrust shape I wanted for the stomach/breast area. It also became the type of tool I used along the centerline of the body from tail to head.

[orig. huge image]
2019/11/21


After I started these first longitudinals, most of the rest of the strips will be based on the same tools used in the rings. I've added the types of tools that make up the rings at the top as a reminder.


Click on any image to view larger.

C-Clamps that run tail to top along both sides of the pipe wrenches.

[original huge image]

[original huge image]

[original huge image]

One of the sections made of pliers my wife designed (I welded them together).

[original huge image]


much more coming as I have time to update these pages!!


Click on any image to view larger.